
Set reports to use 24 hour time
With TimeForge, you can easily set the default times on your reports to use 24 hour time format instead of AM/PM. Although you can set your default option, you can also switch back and forth between 24 hour and AM/PM for each report. Setting these option only takes a few clicks! Here’s how.
Set your default for all reports
Section titled “Set your default for all reports”
Go to your profile page
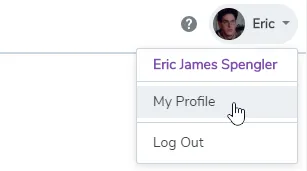
Section titled “Go to your profile page”Open the personal menu in the upper right, then select My Profile.
Locate the settings under TimeForge Configuration
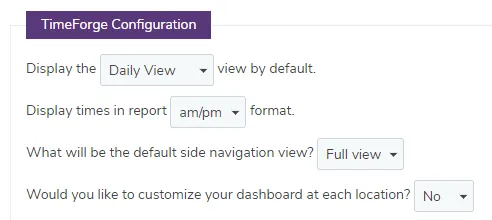
Section titled “Locate the settings under TimeForge Configuration”Toward the bottom of your profile, you’ll see a section titled TimeForge Configuration.
Select to display times in report using 24-hour format
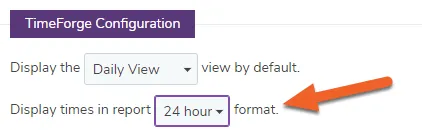
Section titled “Select to display times in report using 24-hour format”The section option is the one we want to adjust. Click the drop-down menu and select 24 hour as the format.
Change the time format for a single report
Section titled “Change the time format for a single report”If you just want to adjust the setting for a single report, you can do this quite easily while configuring the report.
Go to the Reports page
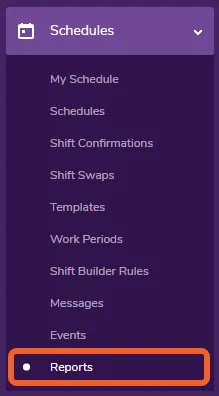
Section titled “Go to the Reports page”Open the Schedules tab and select Reports.
Select the report you want to configure
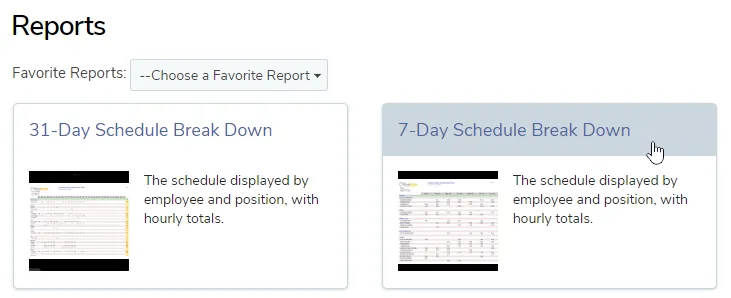
Section titled “Select the report you want to configure”For this example, we’ll open up the 7-Day Schedule Break Down.
Choose the Hour Format
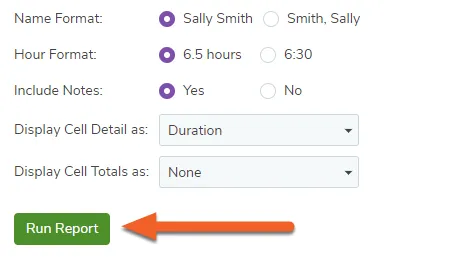
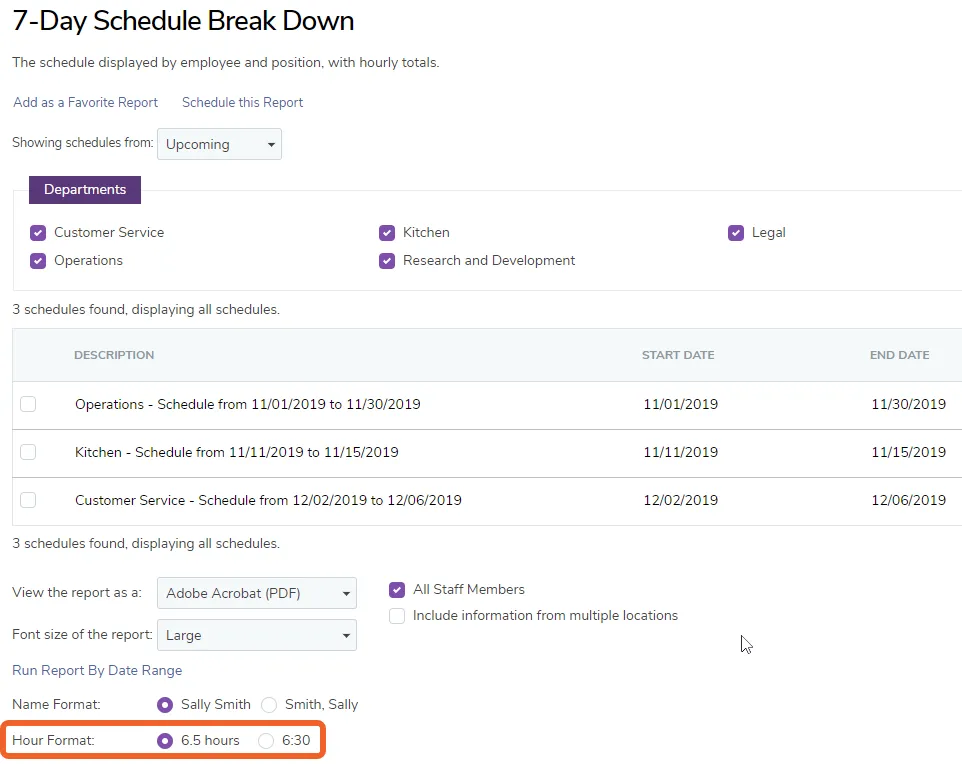
Section titled “Choose the Hour Format”Beneath the schedules list, you’ll see some options for formatting the report. The one we’re looking for is the Hour Format. Setting this to 6.5 will force the report to use 24-hour format. Selecting 6:30 will cause the report to use 12-hour AM/PM format.
Click Run Report
Section titled “Click Run Report”To run the configured report using the selected Hour Format, click the Run Report button.