Create HR Activities to send onboarding, certification, or training documents to employees
You may already know that TimeForge’s Applicant Tracking and Onboarding system allows you to upload onboarding documents to an employee’s profile. But did you know there’s a way to assign HR documents to an entire company, location, or group of employees at the same time? Yup! By using HR Activities.
HR Activities can be applied to a variety of situations, based on the needs of your business. For example, you could use an HR Activity to collect benefits information for your entire company, to onboard a fresh group of new hires, or to assign training to a select group of employees (or all employees) at a specific location. With HR Templates, you can streamline the process even further.
Just click on a link below to get started!
Company-wide and location-specific HR Activities
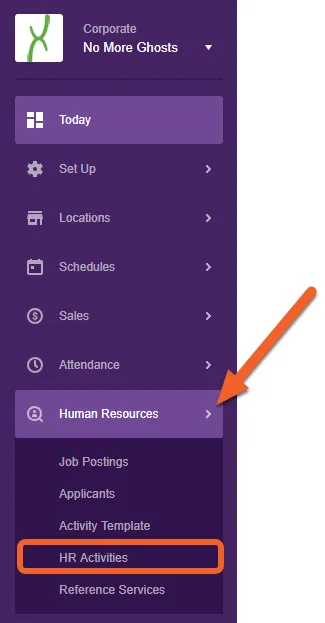
From the Corporate level, navigate to the HR Activities page
Section titled “From the Corporate level, navigate to the HR Activities page”Make sure you’re at the Corporate level, then open the Human Resources tab and select HR Activities from the sub-menu.
Click on New Corporate HR Activity
Section titled “Click on New Corporate HR Activity”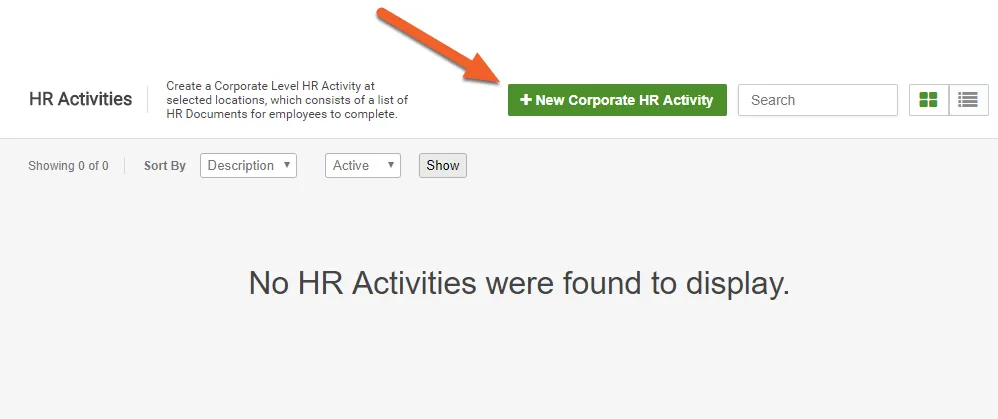
Fill out the Activity Information form
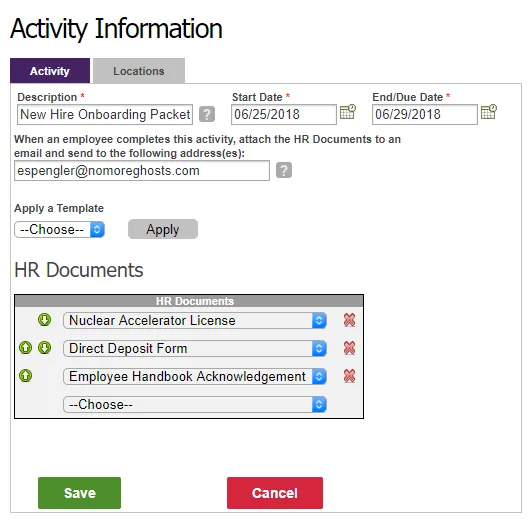
Section titled “Fill out the Activity Information form”Provide a Description, Start Date, and End/Due Date. You can also supply an optional email address (or multiple addresses) to notify HR or other personnel when the activities are completed.
Next, select the HR Documents you’d like to attach (these are defined under HR Types).
Select the Locations tab to assign the activity
Section titled “Select the Locations tab to assign the activity”Once you’ve filled out the Activity form and chosen your documents, it’s time to assign the activity to one, multiple, or all locations in your company. Open up the Locations tab:
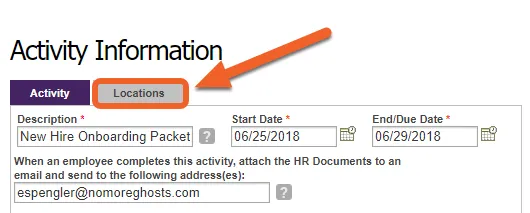
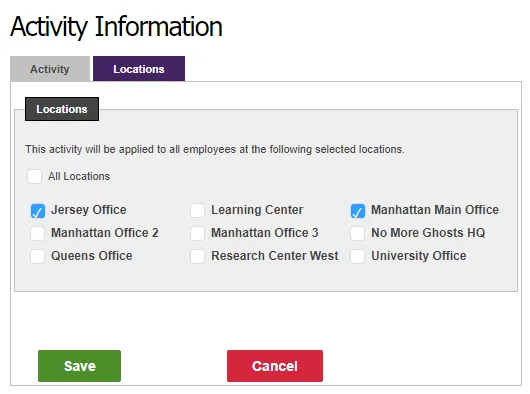
Then, select your desired locations. Keep in mind that all employees at these locations will receive the documents and will be required to complete the activity!
Click Save to save your new HR Activity
Section titled “Click Save to save your new HR Activity”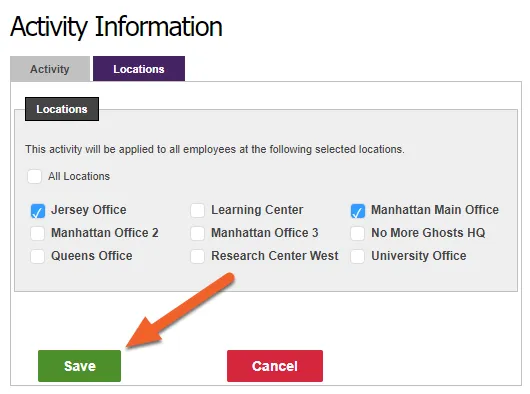
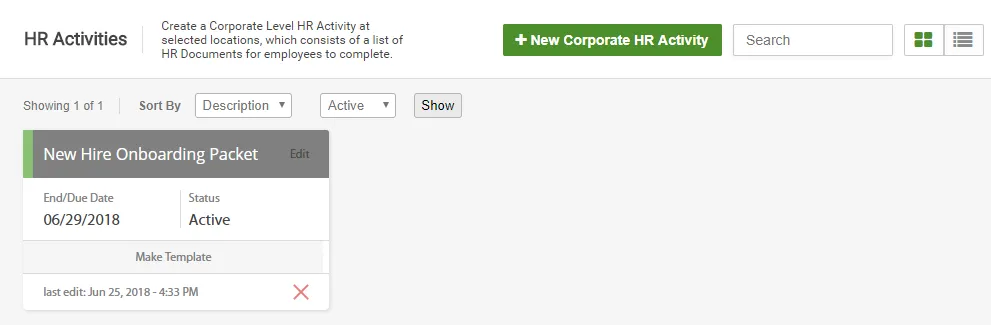
Your new activity will now appear in the HR Activities list!
HR Activities for a group of employees at a specific location
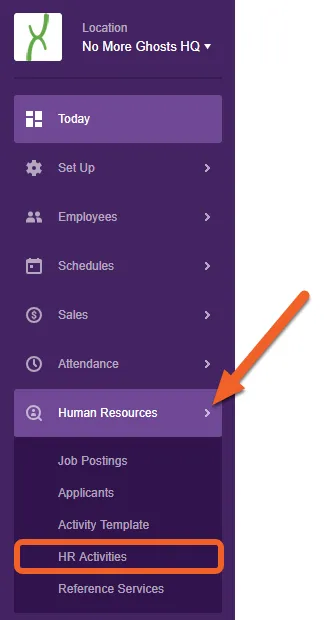
From the Location level, navigate to the HR Activities page
Section titled “From the Location level, navigate to the HR Activities page”Make sure you’re at the Location level, then open the Human Resources tab and select HR Activities from the sub-menu.
Click on New Location HR Activity
Section titled “Click on New Location HR Activity”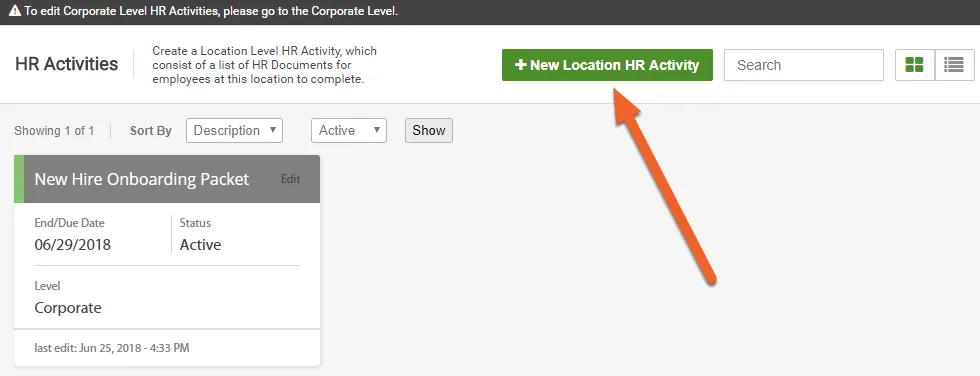
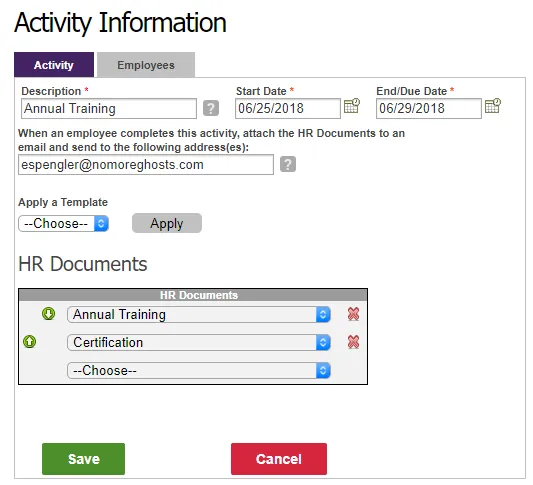
Fill out the Activity Information form
Section titled “Fill out the Activity Information form”Provide a Description, Start Date, and End/Due Date. You can also supply an optional email address (or multiple addresses) to notify HR or other personnel when the activities are completed.
Next, select the HR Documents you’d like to attach (these are defined under HR Types).
Select the Employees tab to assign the activity
Section titled “Select the Employees tab to assign the activity”Once you’ve filled out the Activity form and chosen your documents, it’s time to assign the activity to one, multiple, or all employees at the selected location. Open up the Employees tab:
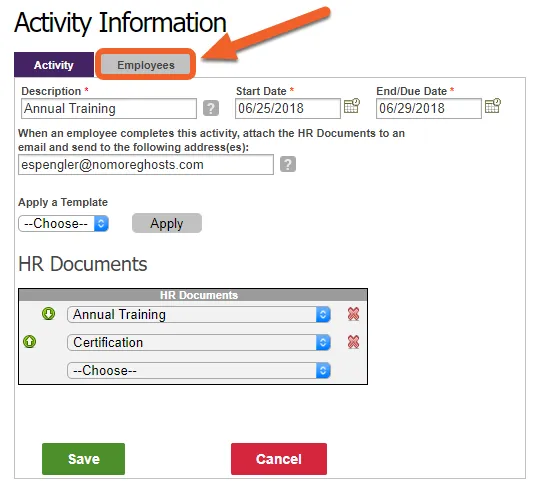
Then, select the recipients from the list! Simply hover over a line item and click the green plus sign to move the selected employee(s) over to the recipients column.
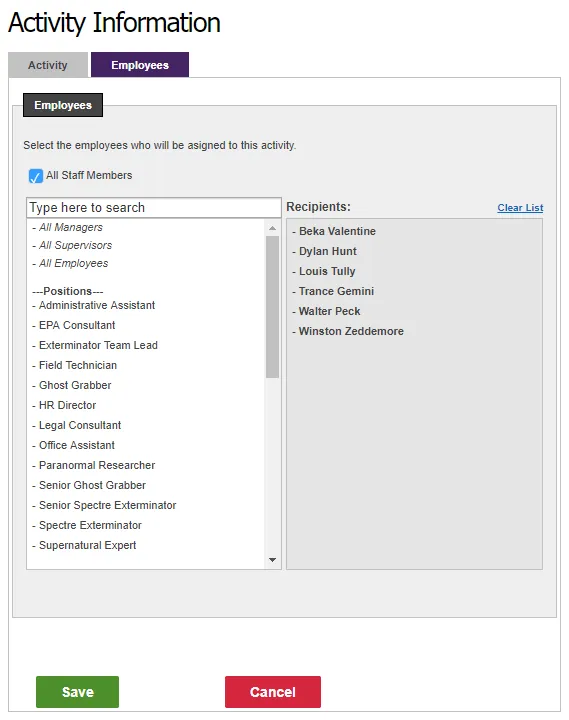
You can select All Managers, All Supervisors, or All Employees at a time. Or, you can select all employees assigned to a specific Position or Department. Scroll all the way down to select individual employees by name, or (if you have a long list of employees) use the search filter at the top of the list.
For this example, let’s check the box to select All Staff Members at this location:
Click Save to save your new HR Activity
Section titled “Click Save to save your new HR Activity”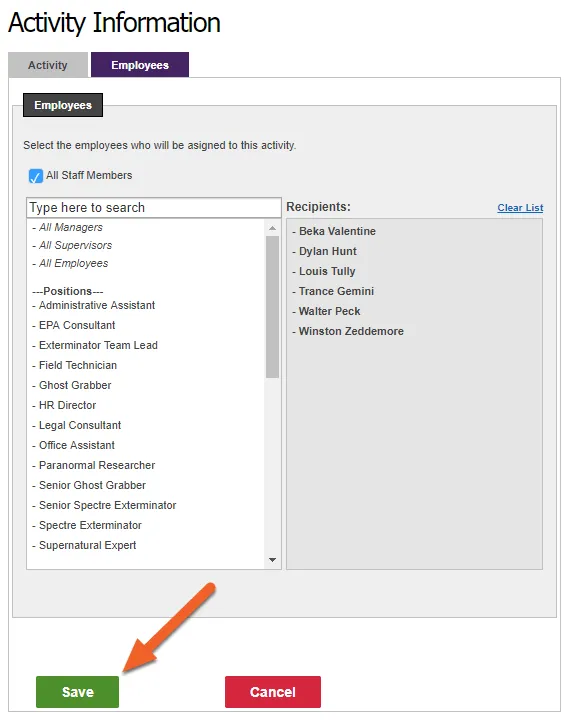
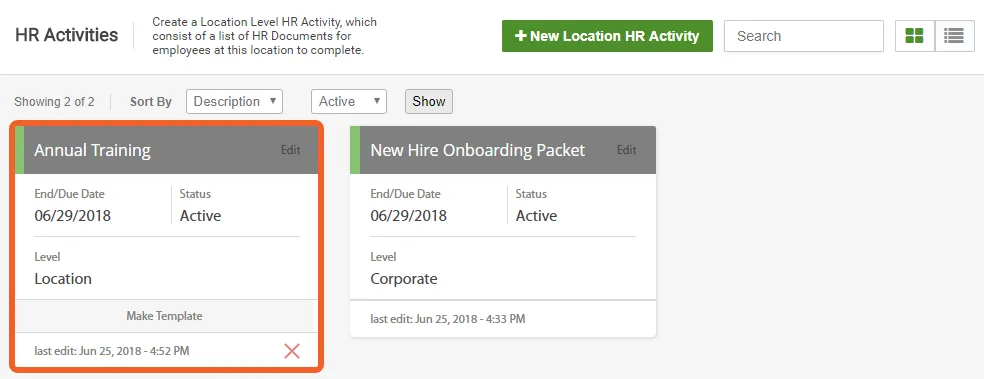
Your new activity will now appear in the HR Activities list! The activity will also appear on the employee-level Activities page for each employee you added.
Once you’ve added activities for your employees, follow these steps to track individual employees’ progress or to view their activities at the employee level.