

Add, edit, or remove an employee
Adding, editing, and removing employees from within TimeForge is very easy to do. Employee accounts need to be created for any staff member who will be scheduling employees or who will be placed on the schedule themselves. Additionally, any staff member who will be running reports, clocking in, or receiving messages needs to have an employee account.
Employees are automatically synchronized from some Point of Sale systems that are set up to integrate with TimeForge.
Navigate to the Employees page under the Employees tab
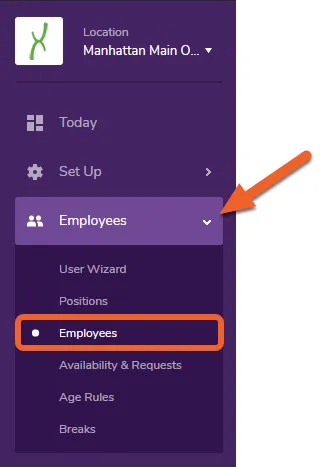
Section titled “Navigate to the Employees page under the Employees tab”Open the Employees tab and select Employees from the menu.
Adding and Editing Employees
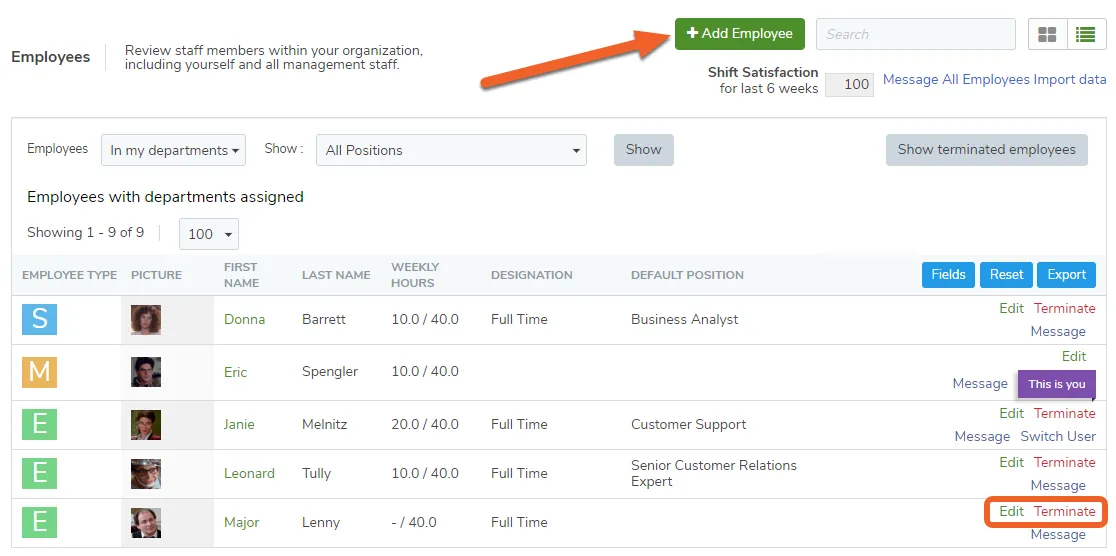
Section titled “Adding and Editing Employees”To add a new Employee, click the Add Employee button near the top of the page. You’ll also notice links to Edit or Terminate individual employees already in the system.
Employee Profiles
Section titled “Employee Profiles”When you create a new employee, you will immediately be able to begin entering their information, also known as their “Employee profile.”
Each employee has a number of settings that can be configured or changed by managers and supervisors inside of TimeForge. These settings control the hours and shifts that an employee can work, the staff member’s availability, and what positions the employee can perform.
To return to this form at any time, simply edit the employee from the employee list.
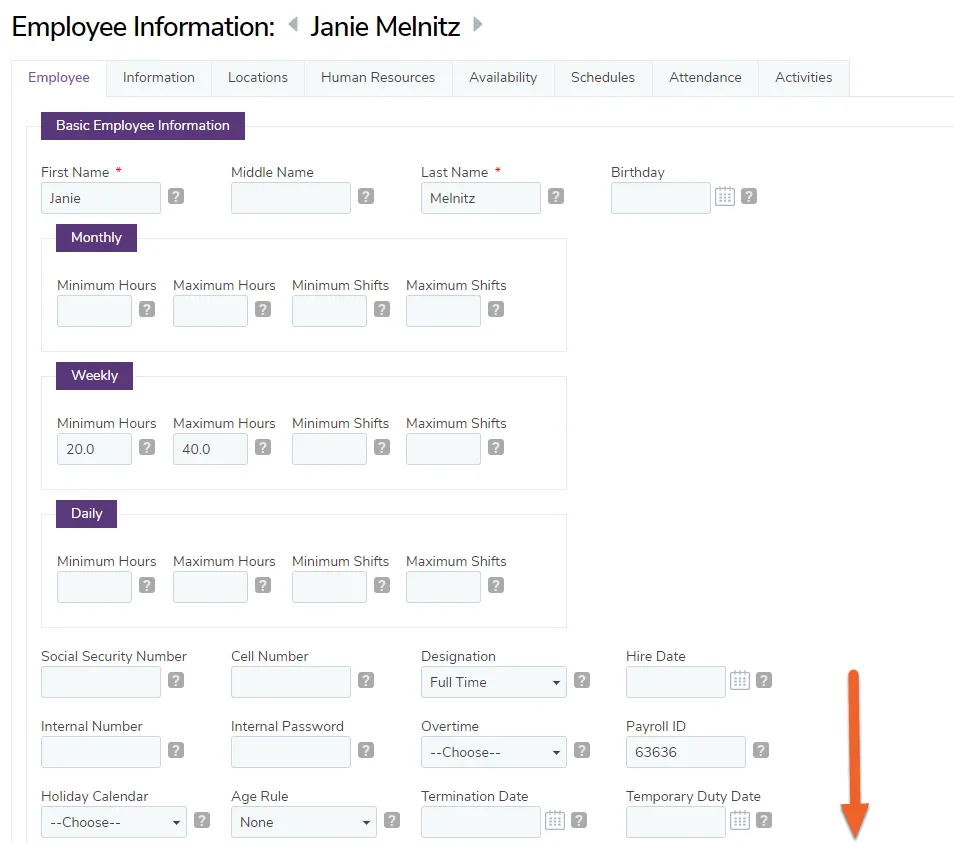
Other employee settings include pay rates (which are not required), skill levels (for ranking how talented a staff member may be), and employee login information, including the employee’s email address.
See our guide on employee profiles for more information about getting the most out of these settings!
Removing Employees
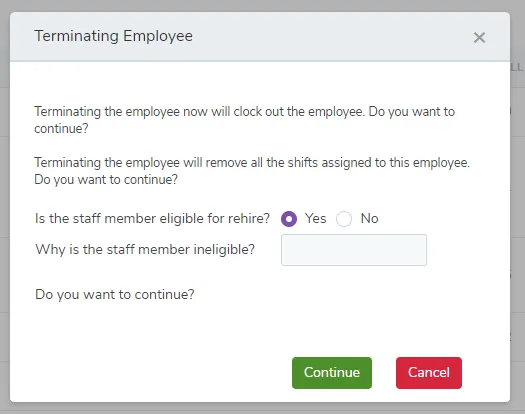
Section titled “Removing Employees”If you need to remove an employee from the system, click their Terminate link in the employee list. You’ll receive a pop-up asking you whether the employee is eligible for rehire and, if not, why. Make your selections, then select Continue to complete the termination process.
Once complete, you’ll be returned to the Employee List and the following confirmation message will be printed across the window:
“Employee