

Create Custom Fields
TimeForge already has built-in fields for collecting important employee information, such as phone numbers and birthday. But did you know that you can also create custom fields?
Custom fields allow you to collect and store other kinds of information relevant to your business. These form fields appear under your employee profile pages and may be set as required or even provided with a default value. Information can be collected using text, number, date, and text area fields.
Navigate to the Custom Fields page under the Set Up tab
Section titled “Navigate to the Custom Fields page under the Set Up tab”While at the Corporate level, open up the Set Up tab and select Custom Fields from the menu.
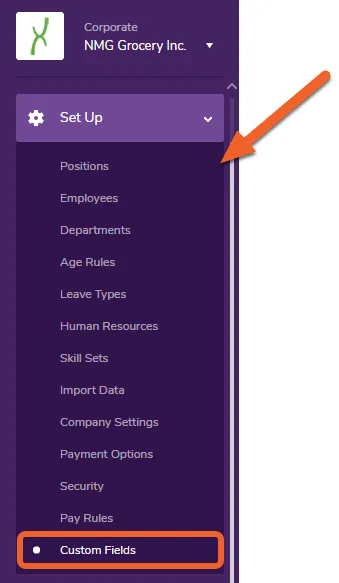
Click the + Add Custom Field button
Section titled “Click the + Add Custom Field button”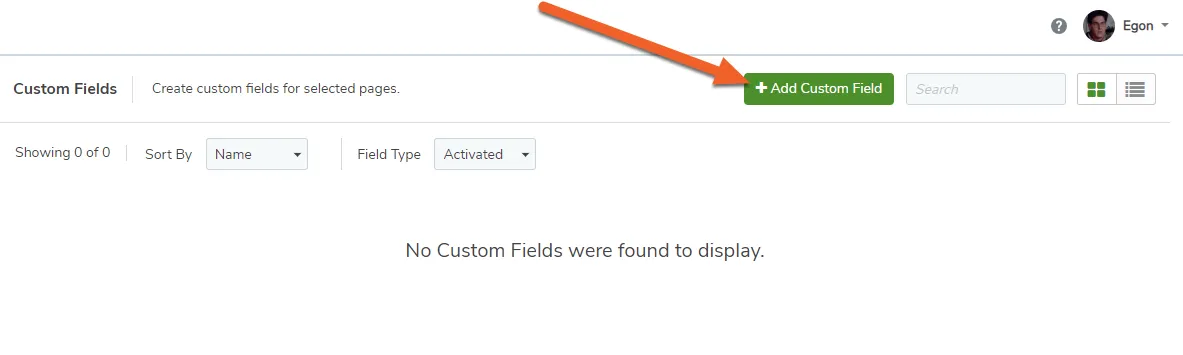
Fill out the form
Section titled “Fill out the form”At minimum, enter a Name for the custom field and select the most appropriate Field Type.
For example, if you expect employees to provide one or two words, you would set Text as the field type, as in the example below.
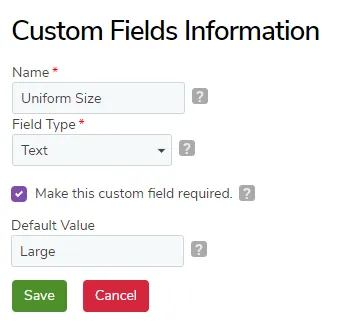
Text Area will allow multiple lines of text in a text box. Number will require a number to be entered, and Date will allow the employee to select a date.
Checking the box will make the custom field required, and employees will have to enter a value. You can also supply a default value, as well.
Click Save to save the custom field
Section titled “Click Save to save the custom field”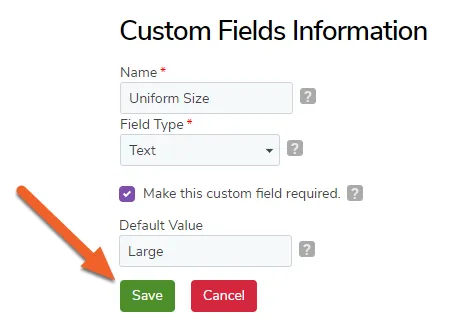
Your new field will be added to the list, where you can update it or, if it’s no longer useful, deactivate it.
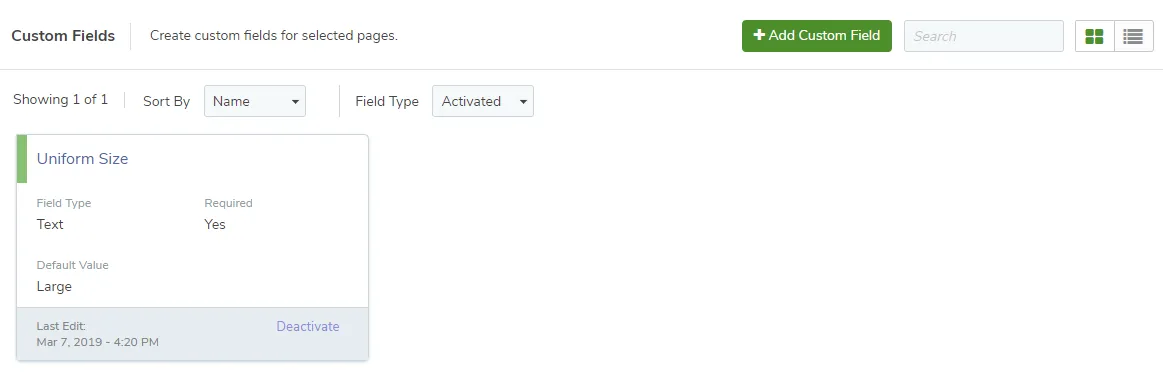
View your new custom field in action
Section titled “View your new custom field in action”To see your new custom field, navigate to your employee list, select an employee, and check the area after Basic Employee Information. You’ll see a new section on the page titled Custom Fields.
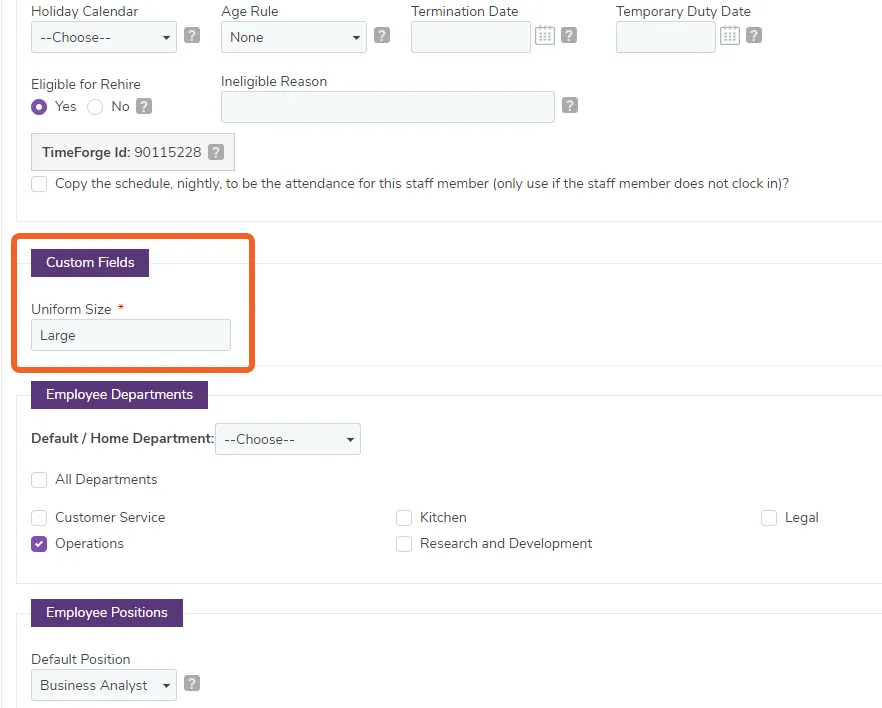
In this case, since we provided a default value and checked the box in our example, Uniform Size is already prefilled with the default value “Large” and is marked with a red asterisk (*) to show that it is required.
That’s all there is to it!