
Add, edit, or delete departments
TimeForge enables you to set up multiple departments in the TimeForge system to represent the departments in your store or business. When editing a department, you can select which position(s) and employees will be associated with that department, as well as set some configuration settings, such as whether the department is a sub-department.
Here’s how you can add and edit departments to match the needs of your business:
Navigate to the Departments page under the Set Up tab
Section titled “Navigate to the Departments page under the Set Up tab”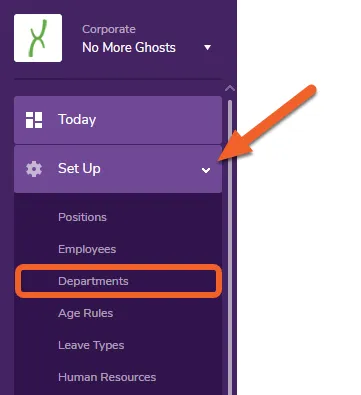
Add a department
Section titled “Add a department”
Click the + Add Department button
Section titled “Click the + Add Department button”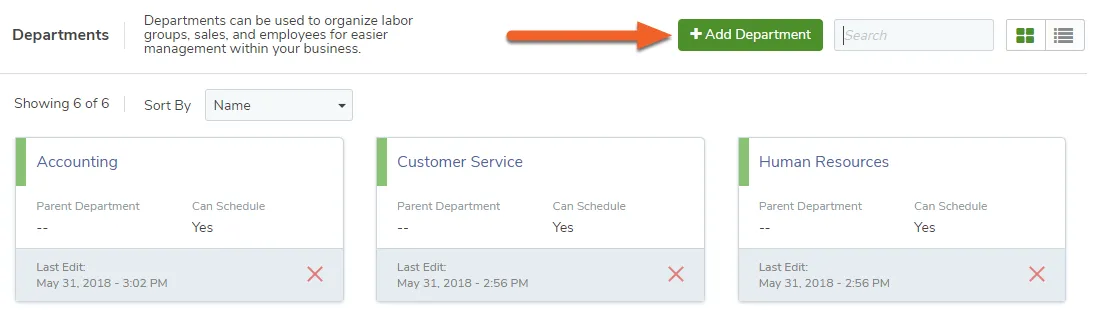
Fill out the Department form
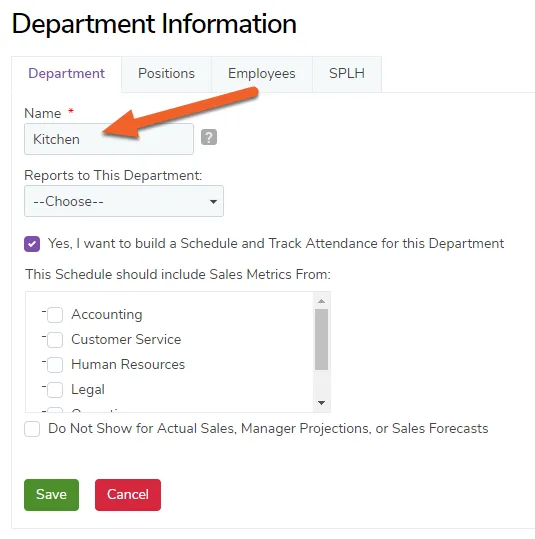
Section titled “Fill out the Department form”Choose a name, a parent department if this is a sub-department, and whether you want to schedule and track attendance for this department.
For example, if your business is a grocery store, you might have departments such as Produce, Dairy, Bakery, and Deli. Restaurants might have Front of House and Back of House departments. A hospitality business might have Housekeeping, Kitchen, and Front Office.
For this guide, we’ll create a department called Kitchen.
Click the Positions tab
Section titled “Click the Positions tab”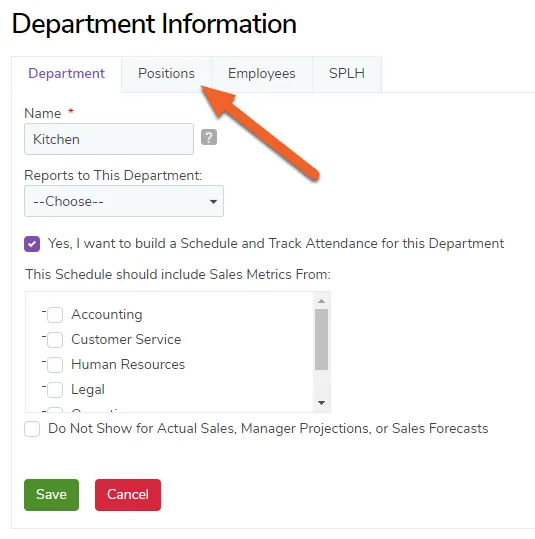
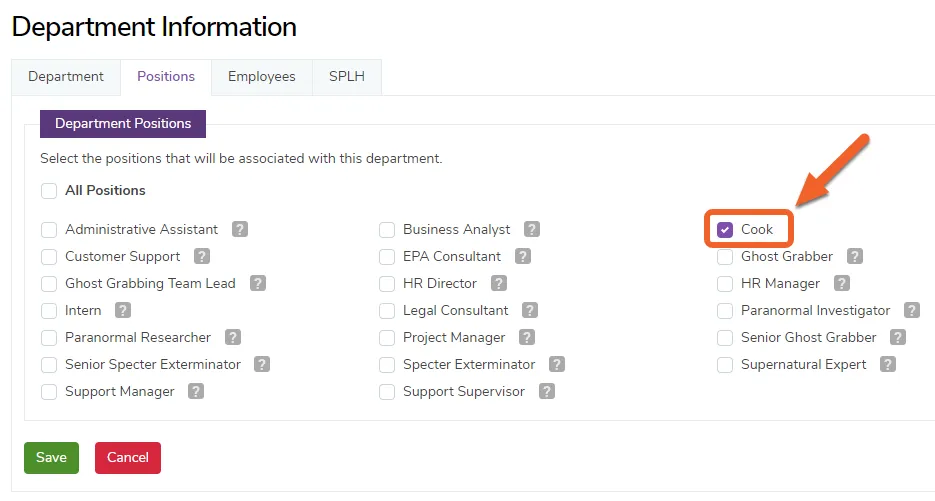
Choose which Positions should be in this Department
Section titled “Choose which Positions should be in this Department”Check the box next to each position you would like to appear in this department. Hovering over the [?] will tell you what other departments the position is already assigned to.
For the new Kitchen department we just created, we’ll add the position Cook, which hasn’t been assigned to any other departments yet:
Click the Employees tab
Section titled “Click the Employees tab”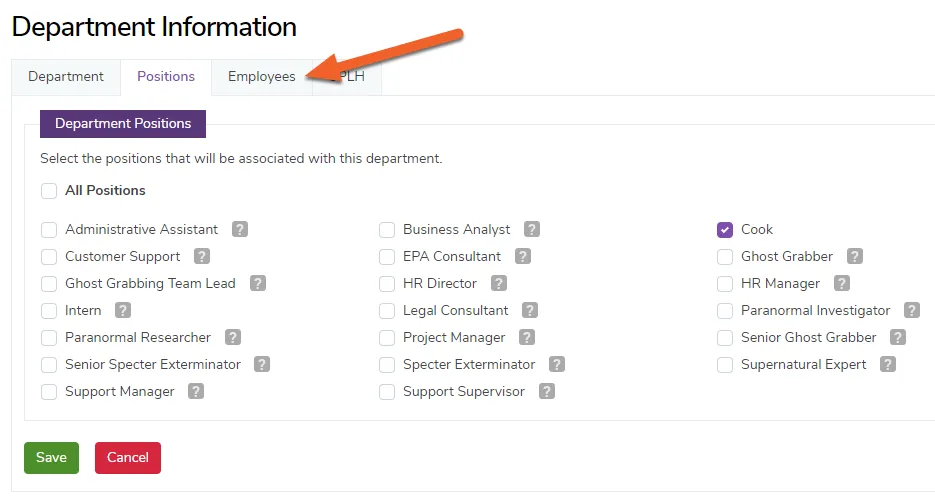
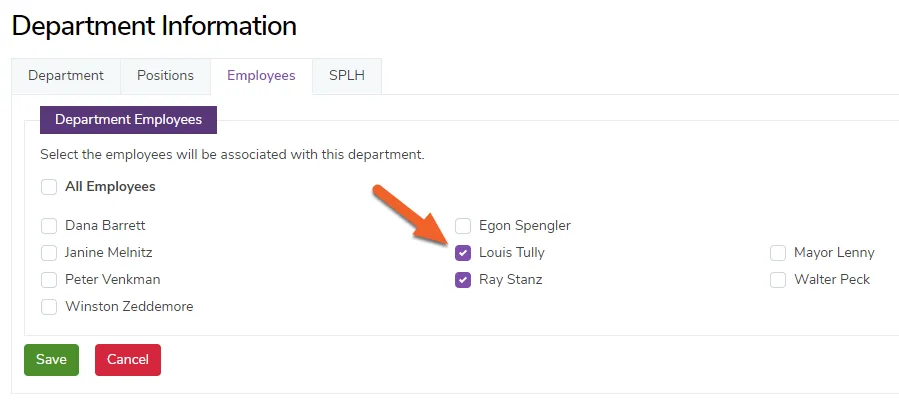
Choose which employees you want to assign to this Department
Section titled “Choose which employees you want to assign to this Department”Check the box to the left of the employee you want to assign to this department.
Click Save to complete the Department setup!
Section titled “Click Save to complete the Department setup!”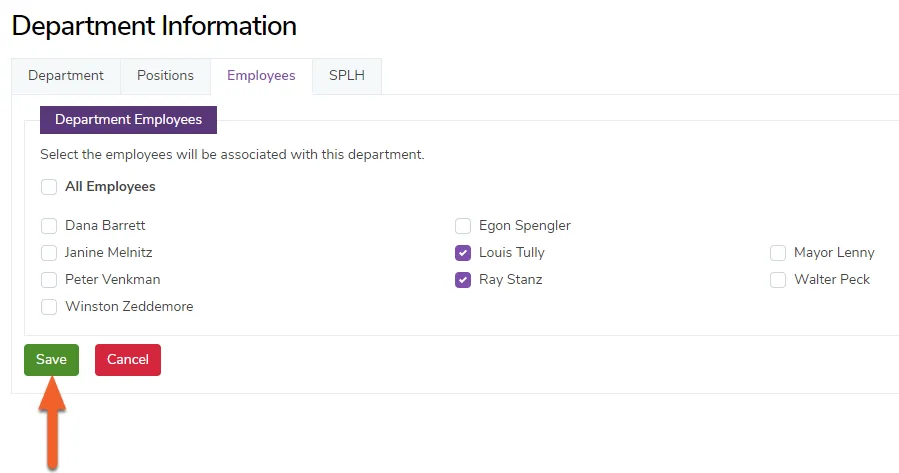
The fourth tab, SPLH, allows Managers to run Sales projections and build shifts based on projected sales. To learn more about how to add SPLH calculations to your departments, contact our Support team!
Edit a department
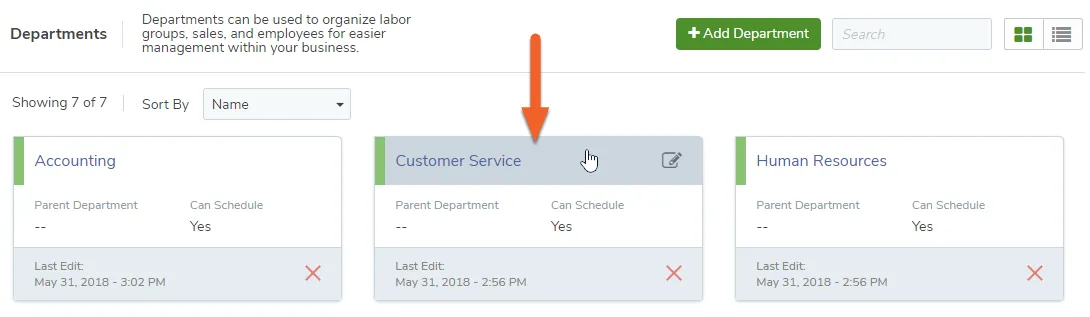
Section titled “Edit a department”While in grid view, click anywhere on the Department you’d like to edit. (If you’re in tabular/list view, you’ll see an Edit link.)
Delete a department
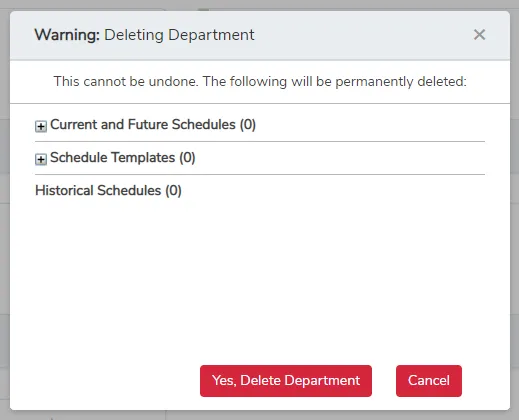
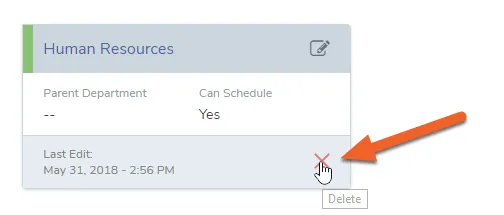
Section titled “Delete a department”While in grid view, to delete a department you’ve already created, click the red X button on the card. (In tabular/list view, you’ll see a red Delete link.)
You will see warnings about any past, current, and future schedules and schedule templates that will be affected. Deleting a department cannot be undone, so you should make sure your employees are properly reassigned before deleting!