The Employee Profile
Every staff member in TimeForge, whether they are an employee, supervisor, or manager, has a unique employee profile. The employee profile is essentially a portal where you can create, edit, and store information about your employees. This includes personal information (such as name, cell phone number, and email address), as well as attendance, schedule, and availability information – all in one convenient location inside TimeForge.
Here we provide an overview of each section (tab) in the employee profile.
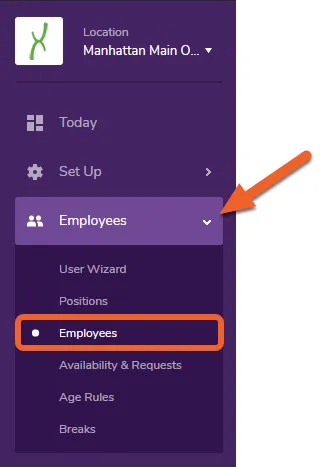
Open the Employees tab and select Employees from the dropdown menu
Section titled “Open the Employees tab and select Employees from the dropdown menu”This will take you to the Employees page in TimeForge, where you can view your list of employees, edit their information, and add new staff members to the roster.
Select an employee to view or click the +Add Employee button to add a new staff member
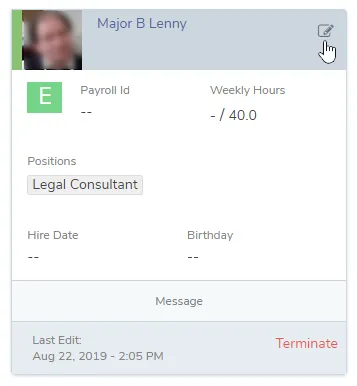
Section titled “Select an employee to view or click the +Add Employee button to add a new staff member”If in Grid view, simply click a card to start editing that employee (shown below). In List view, click the Edit link.
Basic Employee Information
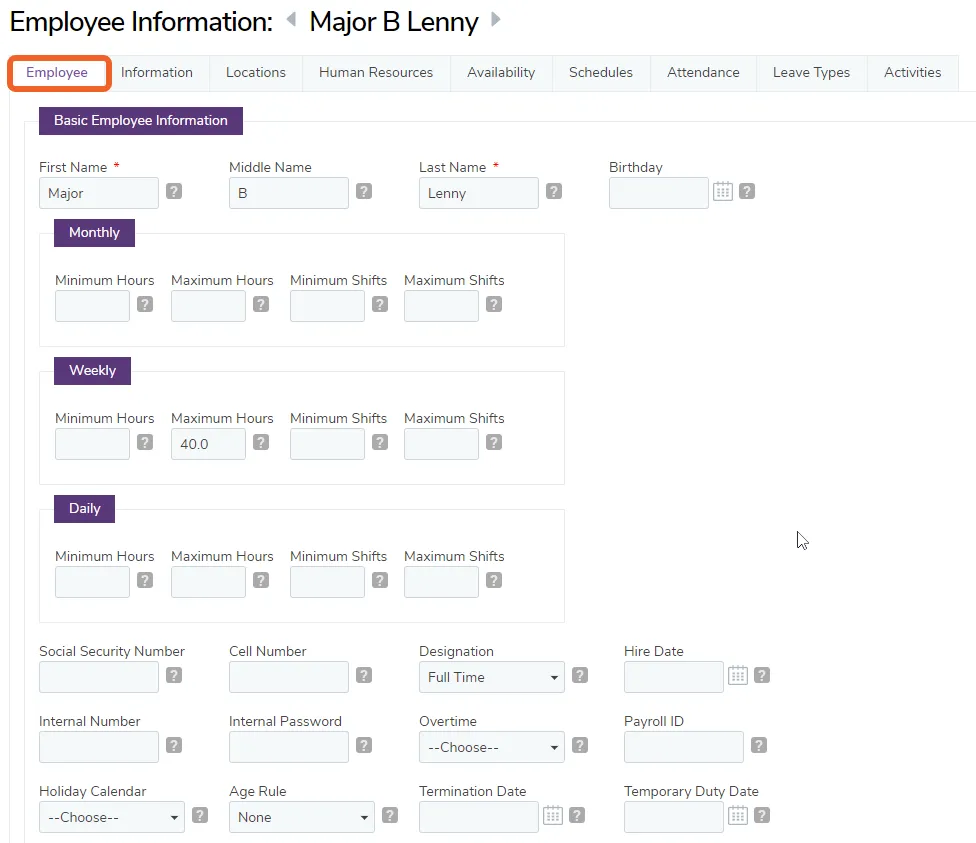
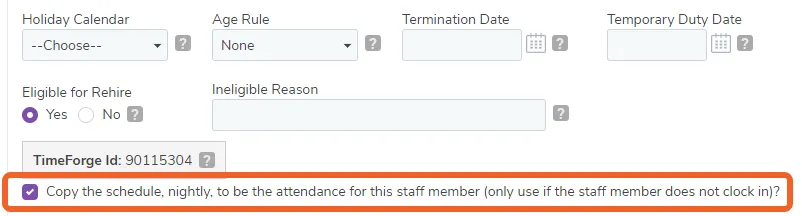
Section titled “Basic Employee Information”The first tab in the employee profile holds basic information about their employment. Here, you can assign minimum and maximum hours so that TimeForge can alert you when those parameters aren’t met. This is also the area where you can terminate an employee, give them an internal number and password for clocking in and out, and assign their payroll ID.
Employee Departments, Positions, Type, and Login Information
Section titled “Employee Departments, Positions, Type, and Login Information”If you scroll further down the page, you will find a few more options, explained below:
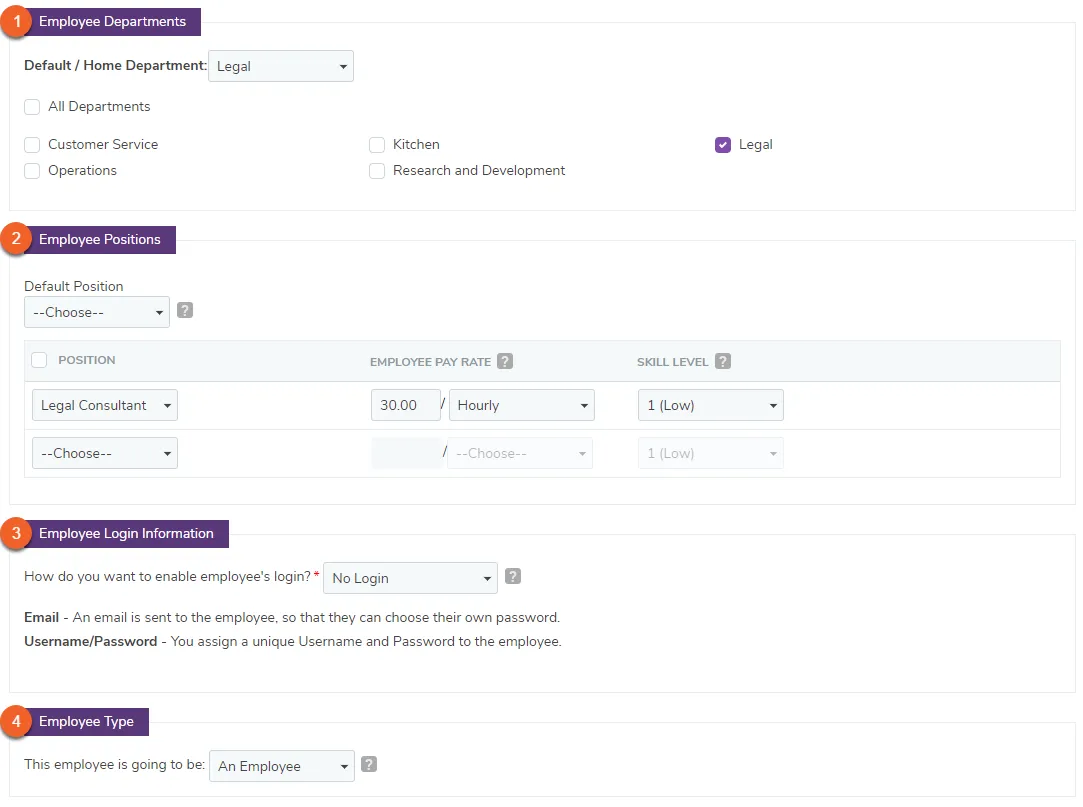
- This is where you assign the employee to one or more Departments (if the business has Departments enabled in TimeForge), including a Default/Home Department.
- This is the area that allows you to designate an employee’s Position(s). You can also include custom pay rates for an employee and designate skill levels.
- Here is where you can specify how an employee can log in to TimeForge. You can either assign a username and password, or select email. If you choose email, an employee will use that address to log in, and they will receive an email informing them how to create a password.
- This is where you tell TimeForge what type of staff member this is, whether an employee, a supervisor or a manager.
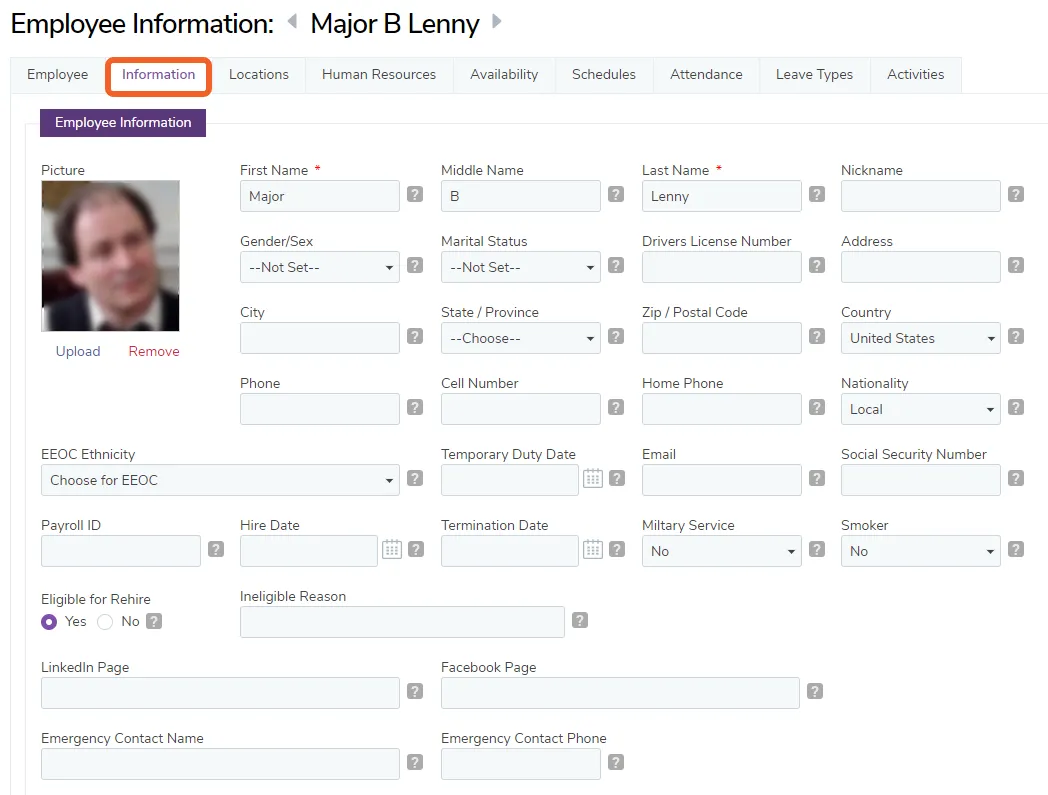
Employee Information
Section titled “Employee Information”The next tab is the Information tab. This is where you can insert information that was traditionally kept in filing cabinets, saving you time and trouble from having to organize and keep track of a bunch of papers. You can even upload a picture of your employee to make everything more personable.
The page can also include information on historical pay rate and PTO changes, for reference.
Employee Locations
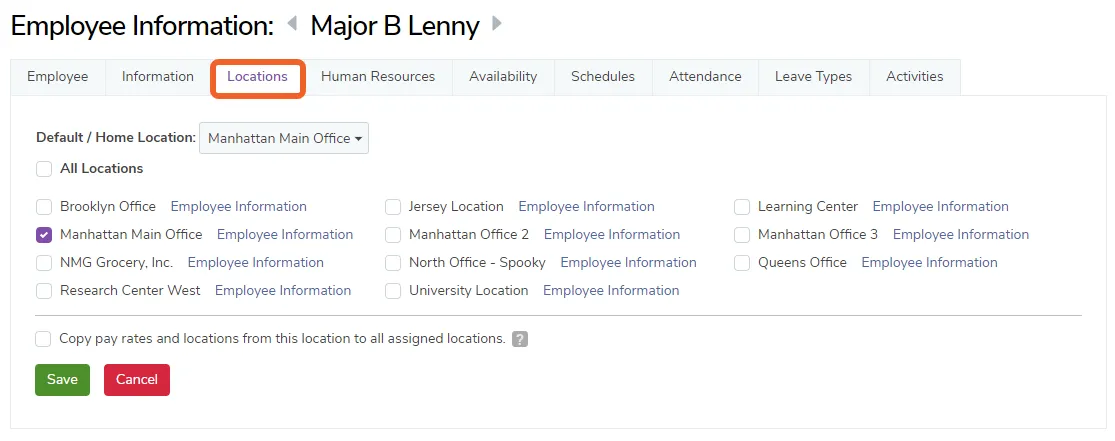
Section titled “Employee Locations”Here, you can assign employees to one or more Locations. You can also assign their Default/Home Location.
Employee Human Resources
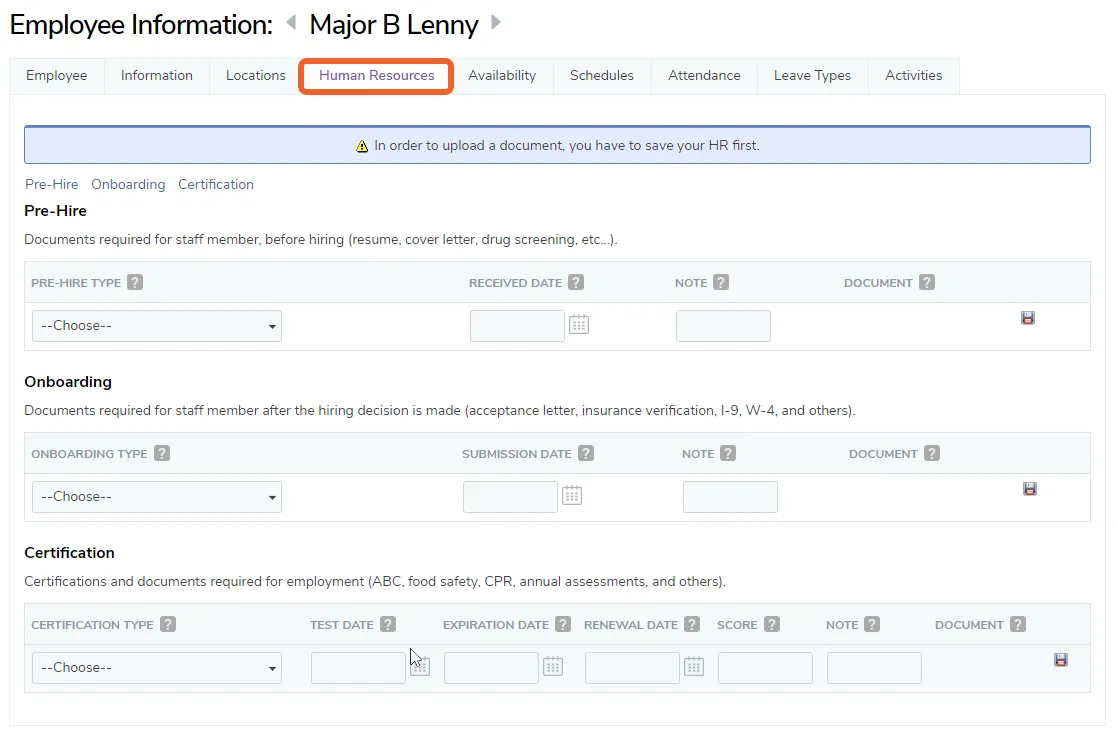
Section titled “Employee Human Resources”On the Human Resources tab, you can assign onboarding documents and certifications to employees. TimeForge can also store digital copies of those certifications and onboarding documents to help get rid of office clutter and keep everything in one safe, convenient platform.
Employee Availability and Requests
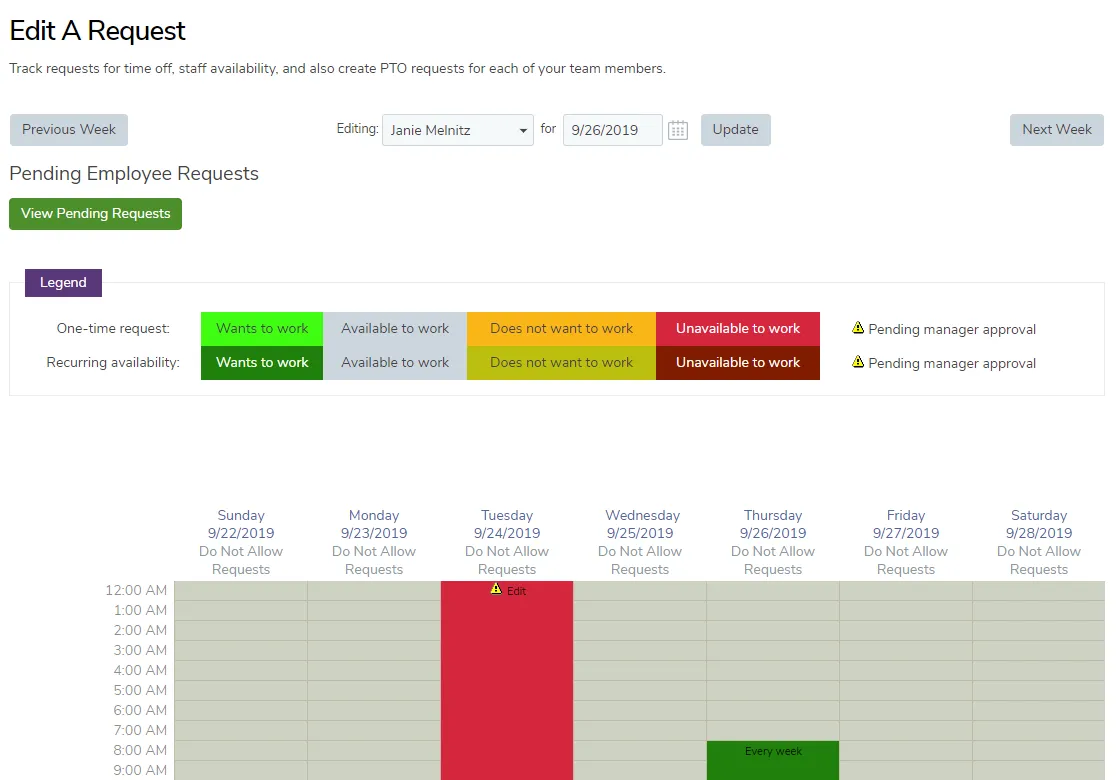
Section titled “Employee Availability and Requests”From this page, you can create and edit requests and availability just like an employee would do on their end.
Employee Schedules
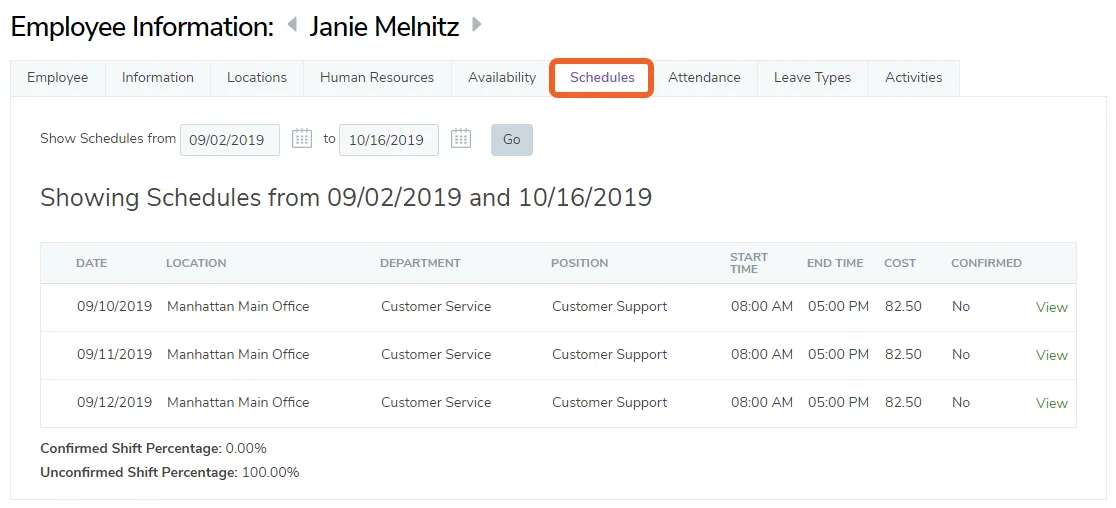
Section titled “Employee Schedules”You can select a date range, and TimeForge will display every schedule that applies to this employee during that range.
Employee Attendance
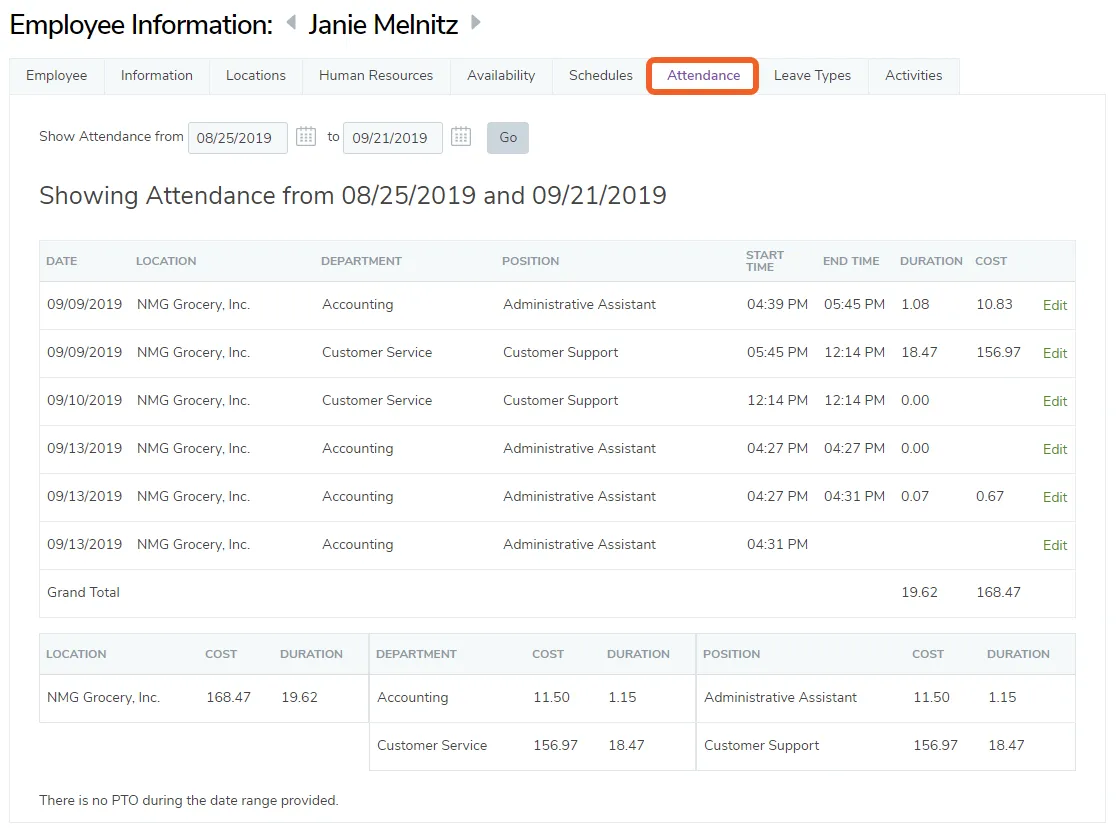
Section titled “Employee Attendance”Similar to the schedule tab, you can select a date range, and TimeForge will display every attendance entry for that employee during that range. You can also click “Edit” next to a certain entry to edit the attendance.
Employee Leave Types
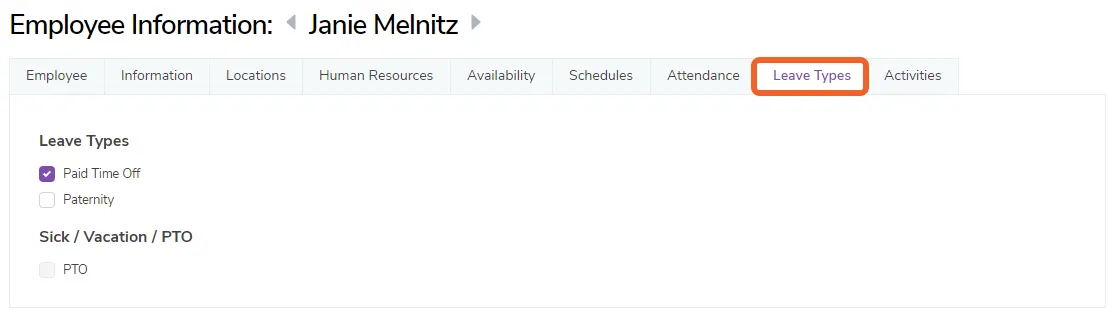
Section titled “Employee Leave Types”Here, you can select Leave Types for the employee.
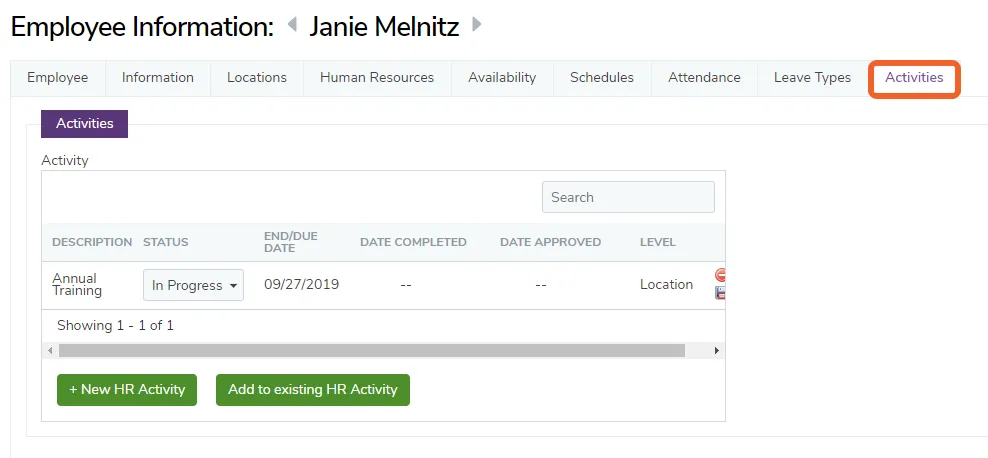
Employee Activities
Section titled “Employee Activities”The Activities tab will show you any HR Activities assigned to the employee and their progress/status.