

Schedule and receive a report by email
TimeForge gives you the power to set up and receive email reports whenever you need them. Reports can be viewed for anything from employee schedules to net gross sales. Having the feature to send the reports is useful if you need a report regularly at the same time each week or day. Depending on how you set up the report, TimeForge can automatically send your reports to anybody, anytime, so that you never have to worry about it.
This article will teach you how to schedule email reports, as well as how to edit and remove them from your profile.
Choose the type of report
Section titled “Choose the type of report”Open the Schedules tab and select Reports from the menu.
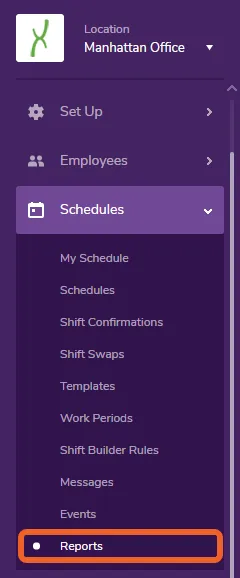
Select a report from those available
Section titled “Select a report from those available”Reports will be listed in grid/card format with a title and description for each. Click a card to configure and schedule a report. For this example, we’ll select “7-Day Schedule Break Down.”
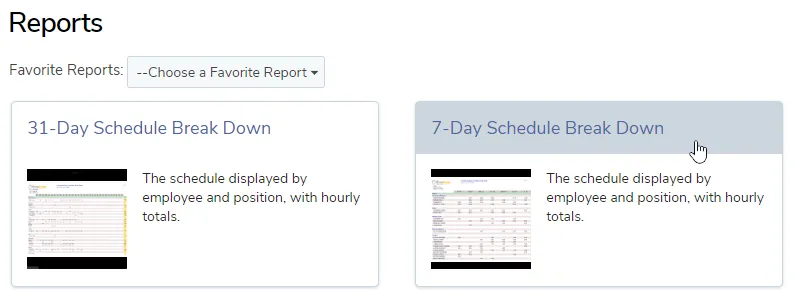
Click ‘Schedule this Report’
Section titled “Click ‘Schedule this Report’”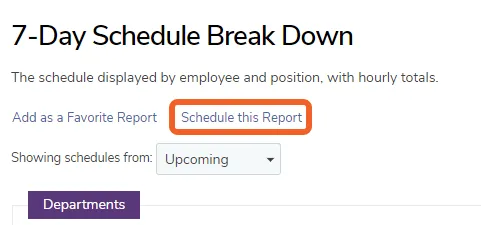
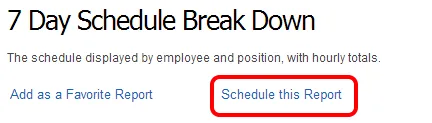
Set up your email report
Section titled “Set up your email report”You’ll see a pop-up with a simple form:
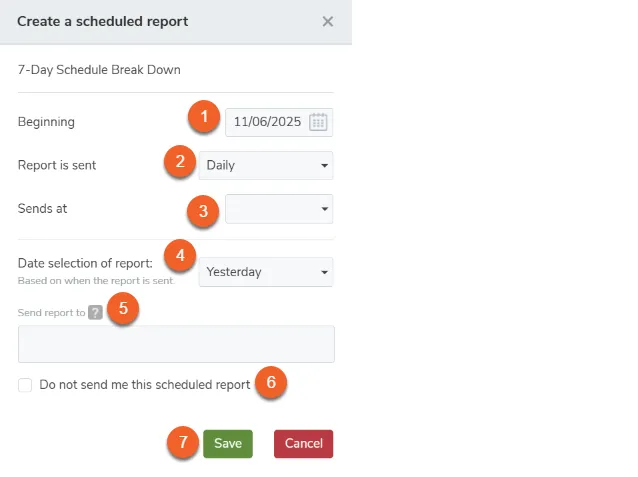
- Set Beginning (start date).
- Choose Report is sent (e.g., Daily/Weekly/Bi-Weekly/Monthly).
- Select Sends at (delivery time).
- Pick Date selection of report (e.g., Yesterday, Today).
- Enter recipients in Send report to (emails, comma-separated).
- (Optional) Check Do not send me this scheduled report.
- Click Save (or Cancel to exit).
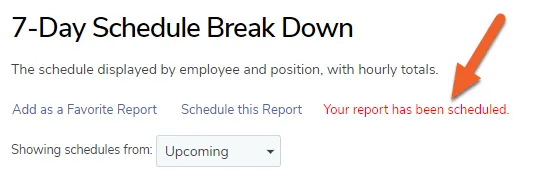
The report should now say that it has been scheduled:
Edit or delete a scheduled report
Section titled “Edit or delete a scheduled report”Once you’ve scheduled a report, you can edit or delete it by visiting your profile page.
Open the personal menu (upper right) and select My Profile
Section titled “Open the personal menu (upper right) and select My Profile”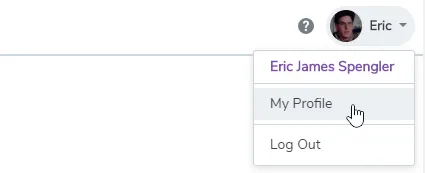
Click the ‘My Scheduled Reports’ tab
Section titled “Click the ‘My Scheduled Reports’ tab”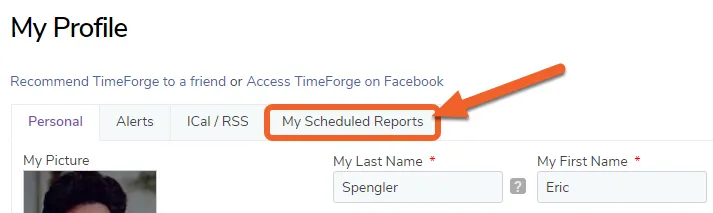
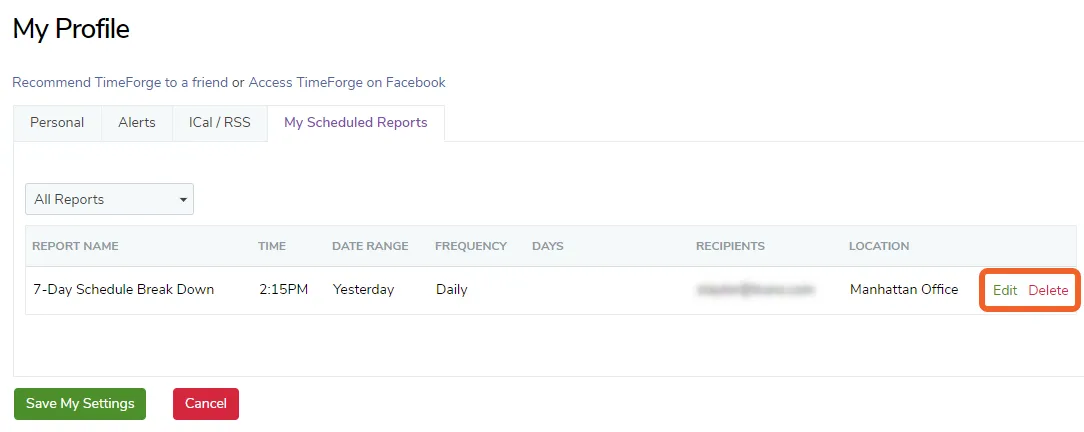
Click Edit or Delete for the report
Section titled “Click Edit or Delete for the report”You’ll see a list of all your scheduled reports here. Simply click the Edit or Delete link on the row to edit or delete the scheduled report. This will not delete the report itself – it’ll simply remove it from your list of emailed reports.
Click ‘Save My Settings’ when done
Section titled “Click ‘Save My Settings’ when done”Don’t forget to save your changes! If you need to reschedule a report, you can do so anytime by repeating the instructions at the top of this article.