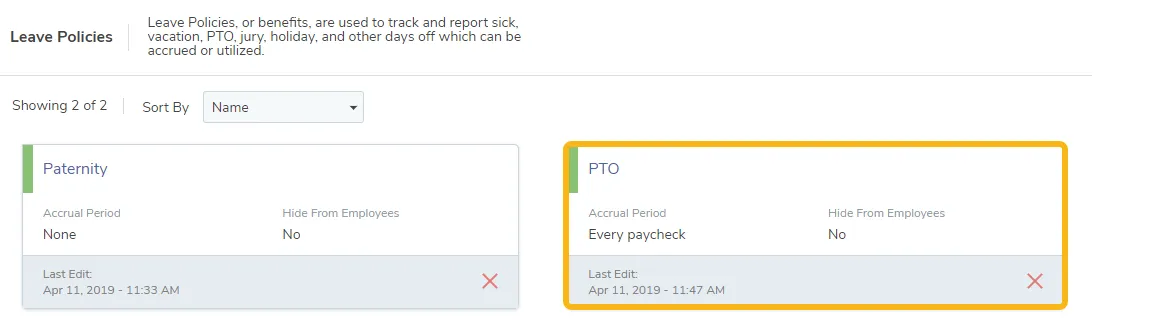

Create Leave Policies, such as "Sick Leave" and "Vacation"
This guide teaches Managers how to create and use Leave Policies, such as “Vacation” or “Sick Leave.” Leave policies in TimeForge can be Location-based, Corporation-wide, or applied only to specific individuals.
Location-based leave could be useful if your corporate office gets PTO but your call center doesn’t, for example. Location-based leave could also be useful if your business has locations spread across multiple states and those states have different PTO rules.
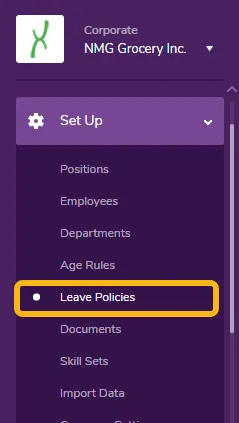
Go to the Leave Policies (formerly Leave Types) page under the Corporate Set Up Tab
Section titled “Go to the Leave Policies (formerly Leave Types) page under the Corporate Set Up Tab”While at the Corporate level, open the Set Up tab and select Leave Policies from the menu.
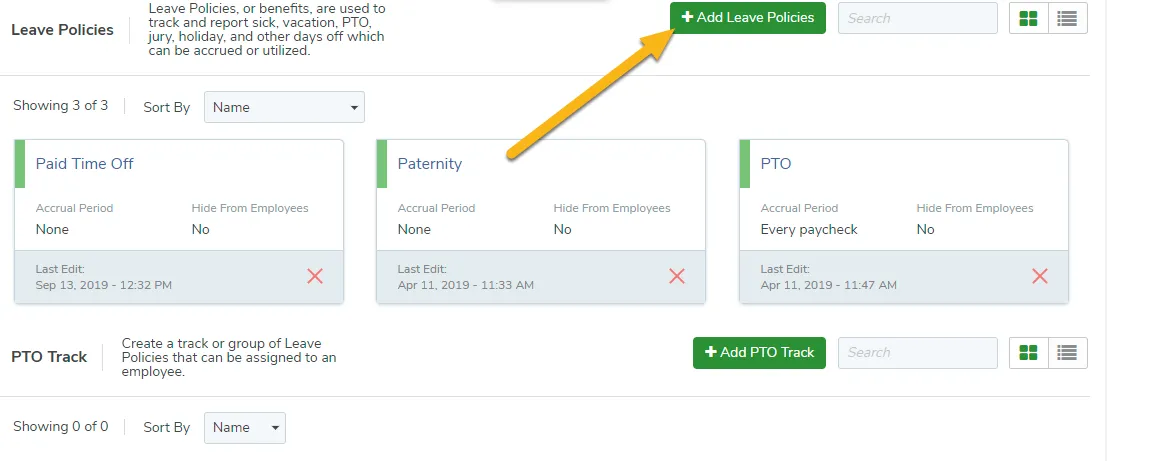
Click the + Add Leave Policies button to create a new leave policy
Section titled “Click the + Add Leave Policies button to create a new leave policy”Click the + Add Leave Policies button in the upper right to create a new type of leave. If you have any Leave Policies in the system already, they will be listed on this page. You can also edit an existing policy from here.
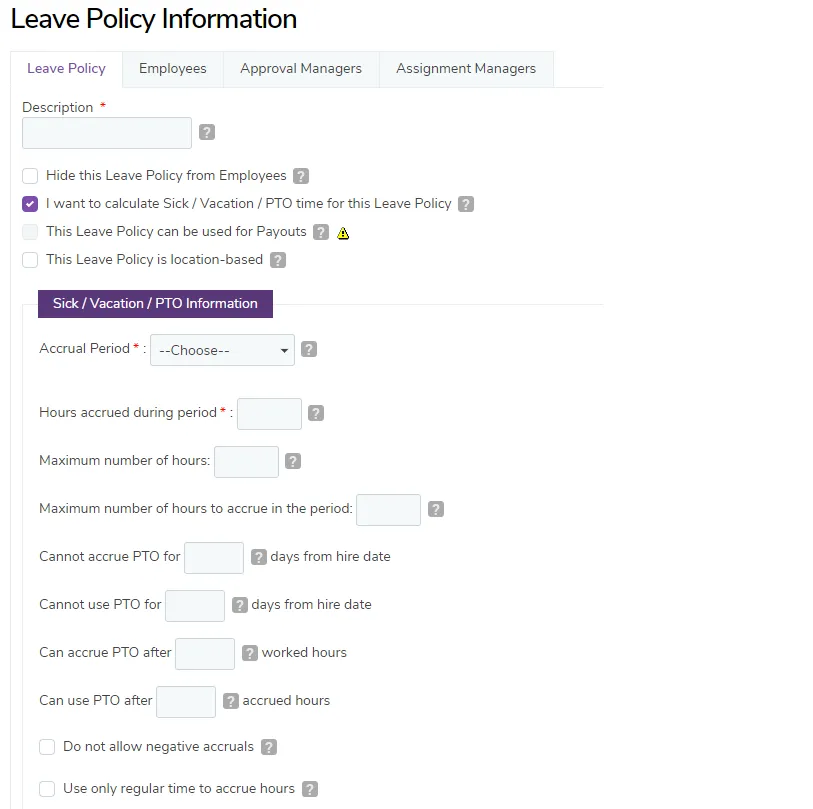
Select options for this Leave Policy
Section titled “Select options for this Leave Policy”Leave Policies are very configurable and can be adjusted to suit your business needs. You can set whether and how often this leave is accrued, the maximum balance, how long after initially being hired employees have to work before starting to accrue it, and more.
Do you want this Leave Policy to be Location-based?
Section titled “Do you want this Leave Policy to be Location-based?”If you are interested in this Leave Policy applying to only specific locations, check the box indicated below. When you check this box, an additional tab will appear, also pictured below:
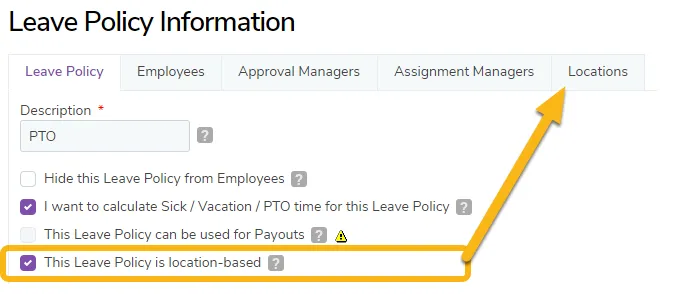
Location-based only: select the location(s) you want this Leave Policy to apply to
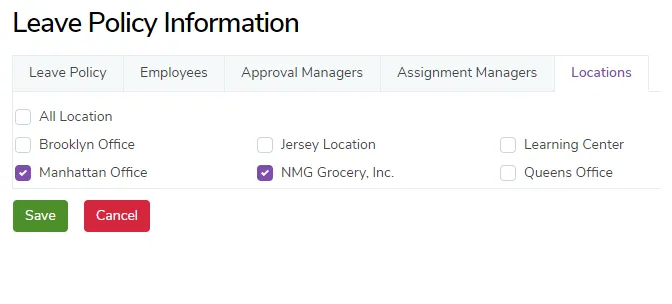
Section titled “Location-based only: select the location(s) you want this Leave Policy to apply to”If you selected the option to make this Leave Policy location-based, you should now click the Locations tab and select which locations it should apply to.
Select the employees for whom this Leave Policy should apply
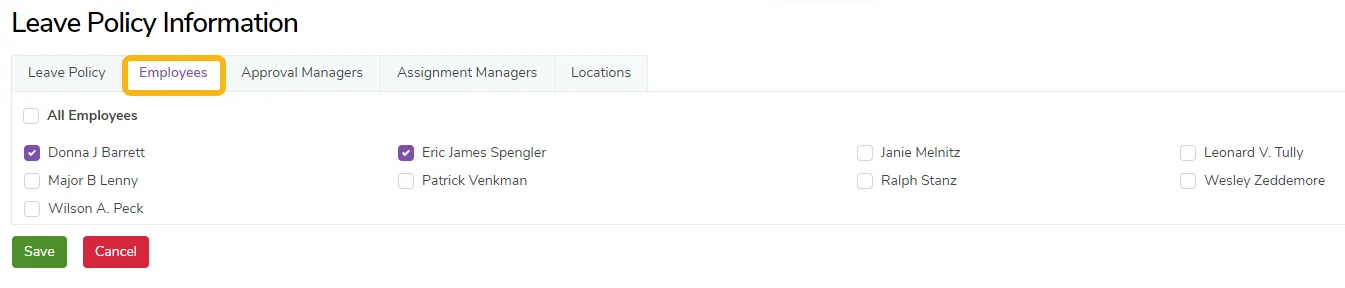
Section titled “Select the employees for whom this Leave Policy should apply”If you would like this Leave Policy to apply to all employees, simply use the All Employees checkbox. Otherwise, select individual employees from the list.
Select your Approval Managers
Section titled “Select your Approval Managers”Click the Approval Managers tab and set your approval managers for this leave policy and their permissions. Approval managers can approve or deny employee requests for leave.
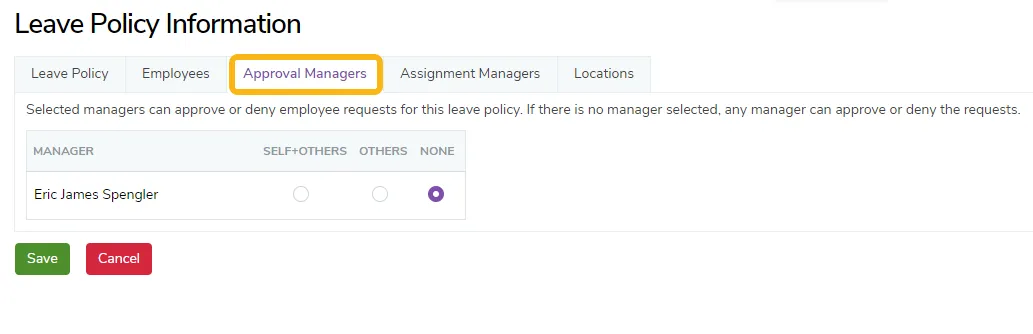
Approval Managers with Self+Others access can edit this Leave Policy and approve its use for anyone, including themselves, with available hours for that Leave Policy.
Approval Managers with Others access can approve this Leave Policy on anyone, except themselves, with available hours for that Leave Policy.
Approval Managers with None selected have no access to editing or approving this Leave Policy for anyone.
Select your Assignment Managers
Section titled “Select your Assignment Managers”Click the Assignment Managers tab and set your assignment managers for this leave type and their permissions. Assignment managers can assign this leave type to employees.
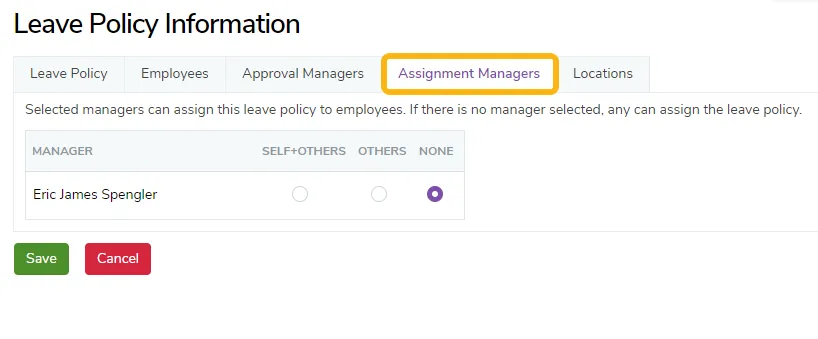
This works the same way as it does with Approval Managers.
The option to create Assignment Managers allows you to create users who can assign leave policies for other employees without necessarily having approval access.
Click Save to save your settings
Section titled “Click Save to save your settings”Once you’re finished setting all your options for this Leave Policy, be sure to click the Save button.
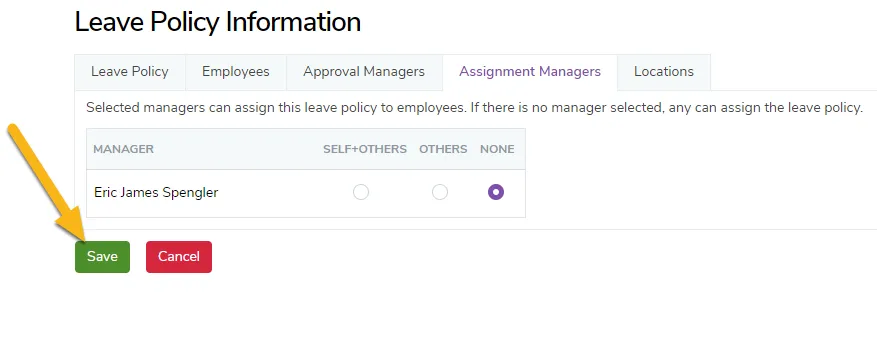
You will be returned to your Leave Policies page, and your new leave policy will now be shown in the grid/list.