

Install TimeForge on ISS45
This guide will walk you through the process of setting up TimeForge on an NCR ISS45 system.
Set up the Web Service Login Information in TimeForge
Section titled “Set up the Web Service Login Information in TimeForge”Before you begin installing and configuring the connector that will sync data from TimeForge and ISS45, you’ll need to set up the web services username and password that will be used to secure the connection between the two.
From the Location level, open the Set Up tab and select Settings from the menu.
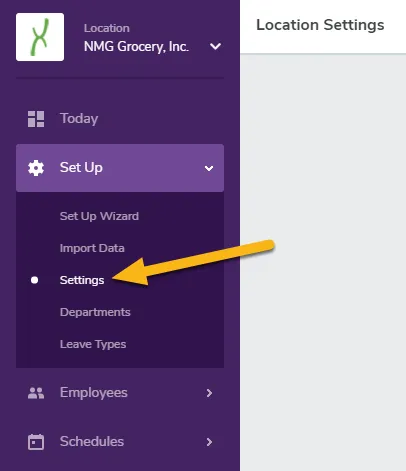
Scroll down to the section titled Integrations.

Under Web Service login information, enter a Username and a Password.
The Username should be in the form of: ws_locationname

Install the TimeForge ISS45 Connector
Section titled “Install the TimeForge ISS45 Connector”Run the executable file.
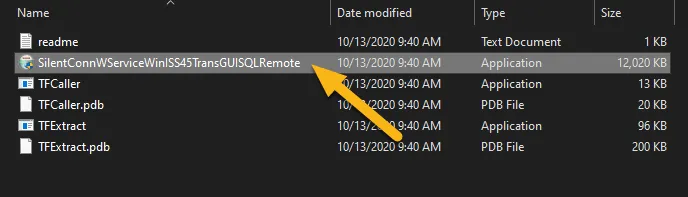
If prompted by Windows, confirm you want to run and install the file.
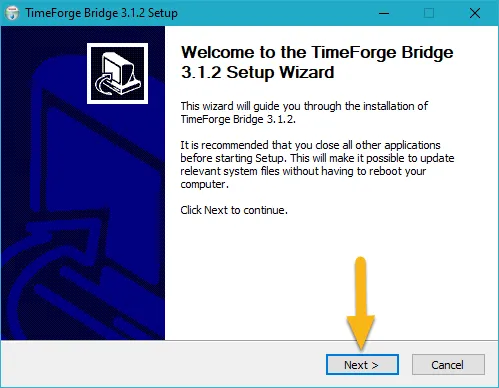
Then, click Next to continue.
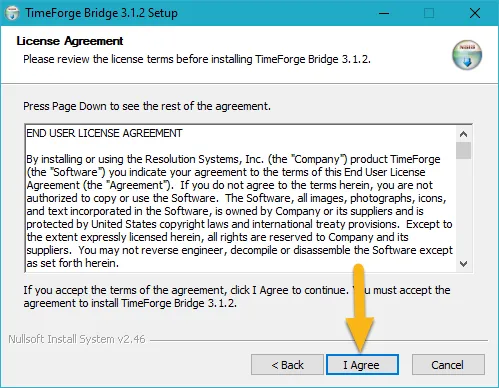
Click I Agree to accept the license agreement and continue with installation.
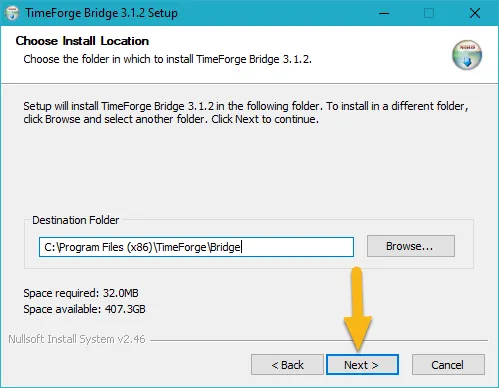
Click Next.
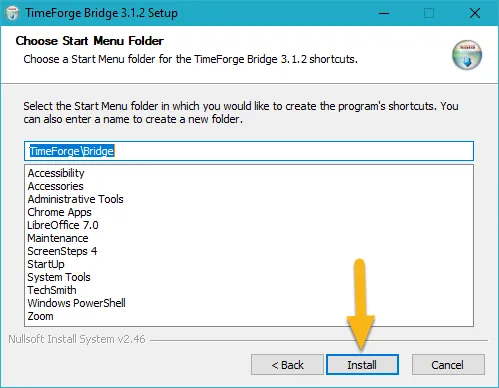
Click Install.
If prompted, click Yes to update .NET Framework.
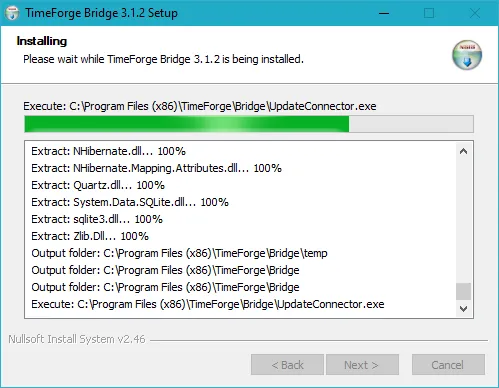
The installer will show a green progress bar, but it will NOT finish until you have entered in the connection settings (next section).
Enter the Connector Settings
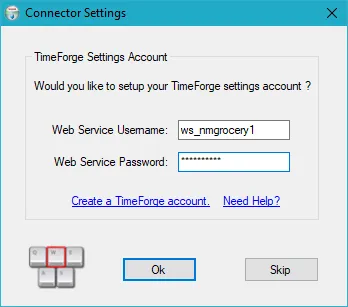
Section titled “Enter the Connector Settings”The installer will prompt you for your Connector Settings and will not complete until you provide them.
Enter the username and password created in TimeForge under location Set Up > Settings > Integrations.
Click Ok when done.
Finish installing the connector and supporting files
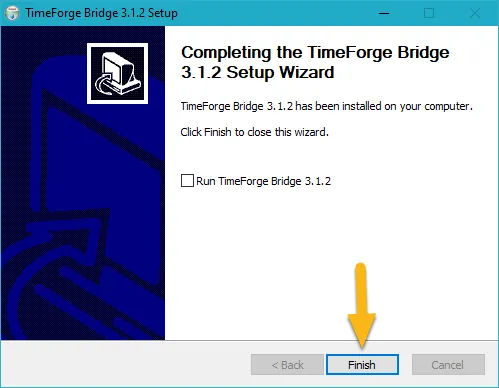
Section titled “Finish installing the connector and supporting files”Uncheck the option to Run TimeForge Bridge 3.1.2.
Then, click Finish.
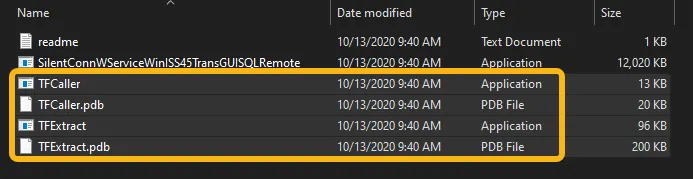
Copy the TFCaller and TFExtract files into the TimeForge\Bridge folder. The location of this folder will differ slightly depending on whether you’re on a 64-bit or 32-bit system:
- 64-bit machine: C:\Program Files (x86)\TimeForge\Bridge
- 32-bit machine: C:\Program Files\TimeForge\Bridge
Remove the TimeForge Attendance icon from the desktop
Section titled “Remove the TimeForge Attendance icon from the desktop”Remove this icon from the desktop.

Start and configure the Connector
Section titled “Start and configure the Connector”Open the TimeForge Connector.

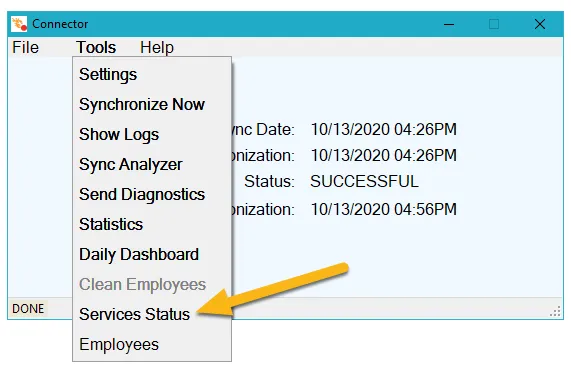
Click Tools, then Services Status.
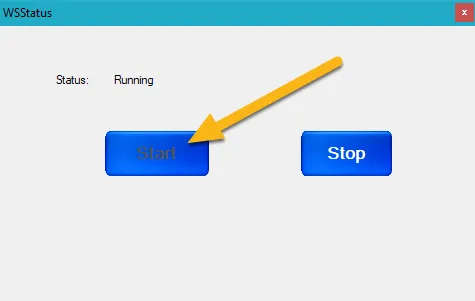
If it says ‘Not Running’, click Start. Otherwise, simply close the window.
Click on Tools, then Settings.
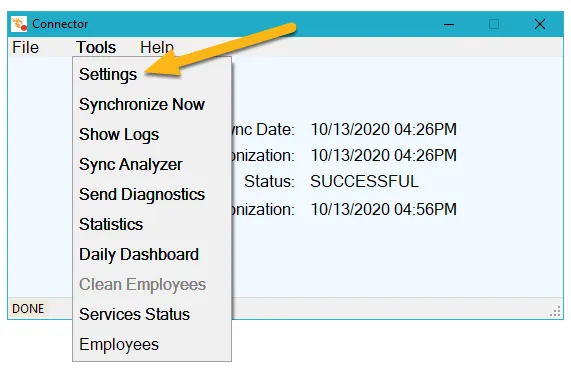
Make sure the connector is configured as follows:
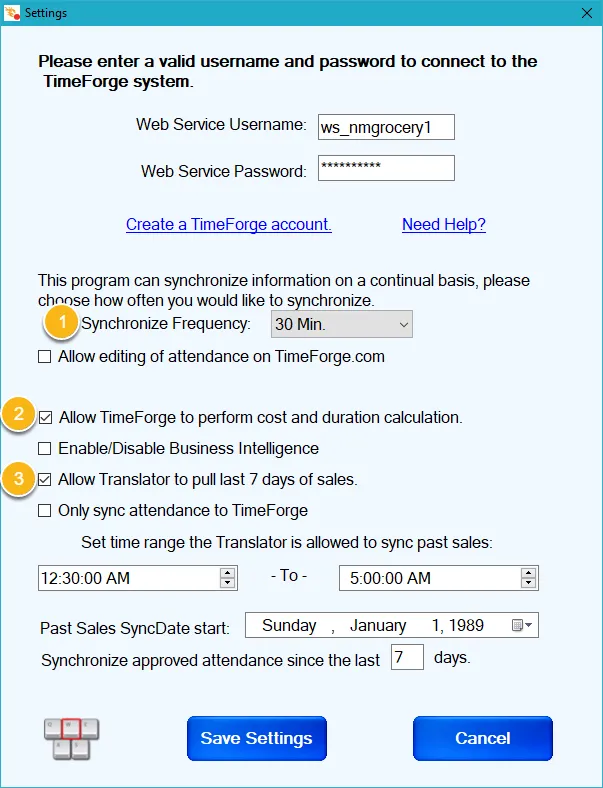
- Synchronize Frequency is set to 30 min.
- “Allow TimeForge to perform cost and duration calculation” is checked.
- “Allow Translator to pull last 7 days of sales” is checked.
When finished, click Save Settings (bottom left button).
Start the Translator
Section titled “Start the Translator”Open the TimeForge Translator.

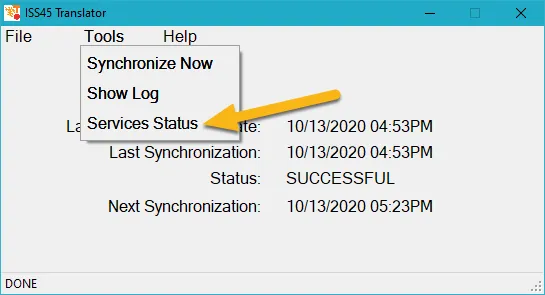
Click Tools, then Services Status. As with the connector, if it says ‘Not Running’, click Start. Otherwise, close out the window.
Sync the Translator and Connector
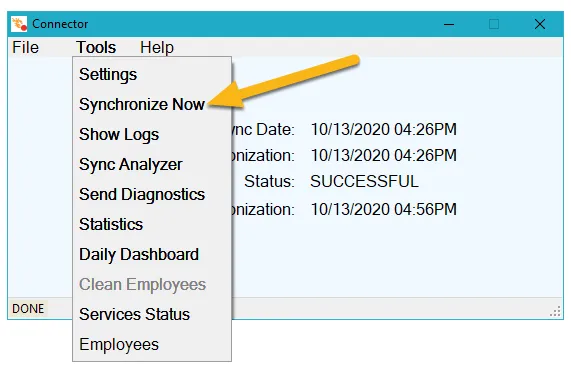
Section titled “Sync the Translator and Connector”With the Translator still open, click Tools, then Synchronize Now.
Wait until the Status reads “SUCCESSFUL” then sync it once more to ensure that TimeForge has at least a couple of days’ worth of data.
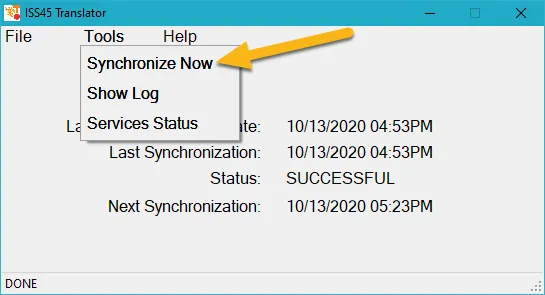
In the Connector, do the same thing. Click Tools, then Synchronize Now.
Validate the sync
Section titled “Validate the sync”Wait until the sync completes, then validate that the sales synced in TimeForge. To do this, open the Sales tab, then click Actual Figures.
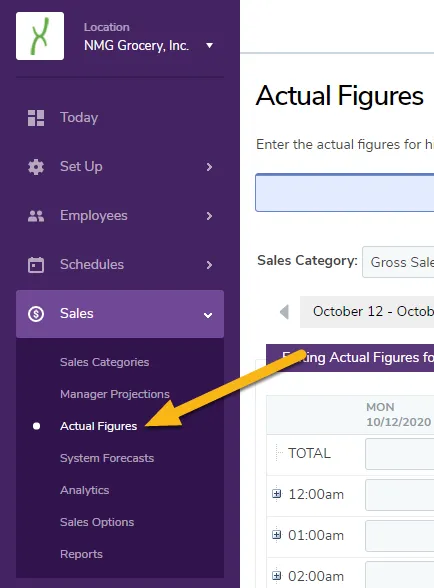
You should see sales data listed on the page.