The Today Page displays important information about your TimeForge account, including pending, approved, and denied requests. The Today page also includes the ability to clock in / clock out (if enabled by management), information about upcoming schedules, availability, and possible shift swaps.
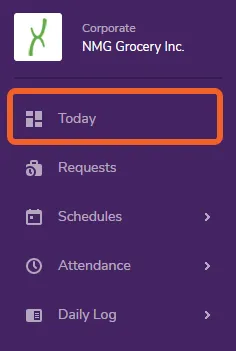
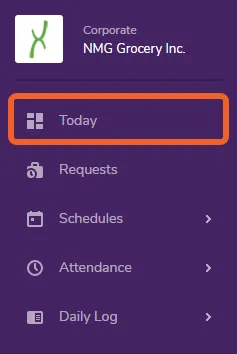
This guide will walk you through the features of your Today Page, from top to bottom. To get to the today page, simply click the Today tab in the left side navigation menu.
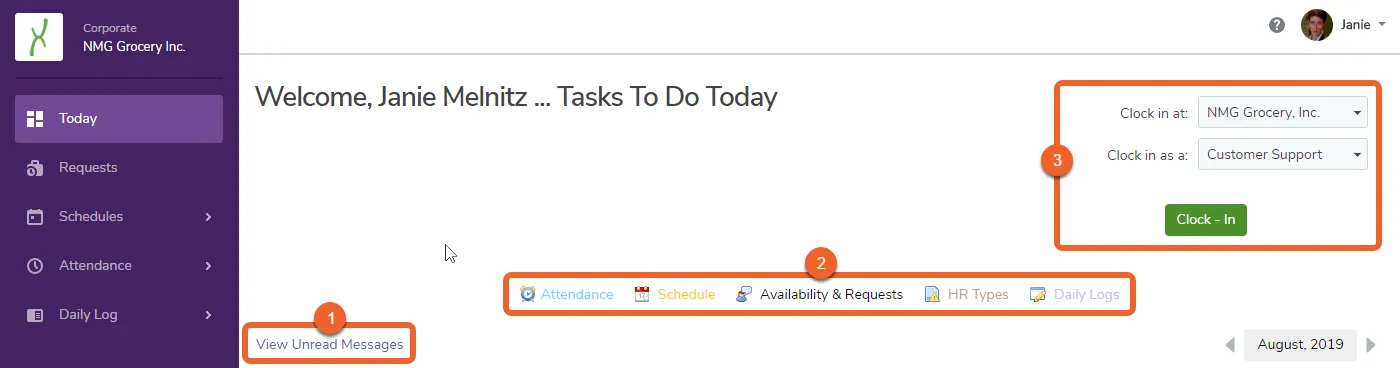
1. If you have unread messages waiting for you, you can click this link to be taken directly to your Messages inbox. Messages can include information from TimeForge about planned maintenance, as well as messages from your Manager or coworkers regarding your availability requests, bid shifts, and upcoming schedules.
2. These quick links will take you to other areas of TimeForge that may be relevant to you, such as your schedule or availability. Additional links are available to you on the left side of the screen as part of the navigation menu.
3. Depending on your company’s policies, if you are allowed to clock in from the computer you are using, an appropriate clock-in message may be displayed here. You should always check with management to be sure you are clocking in from an approved device.
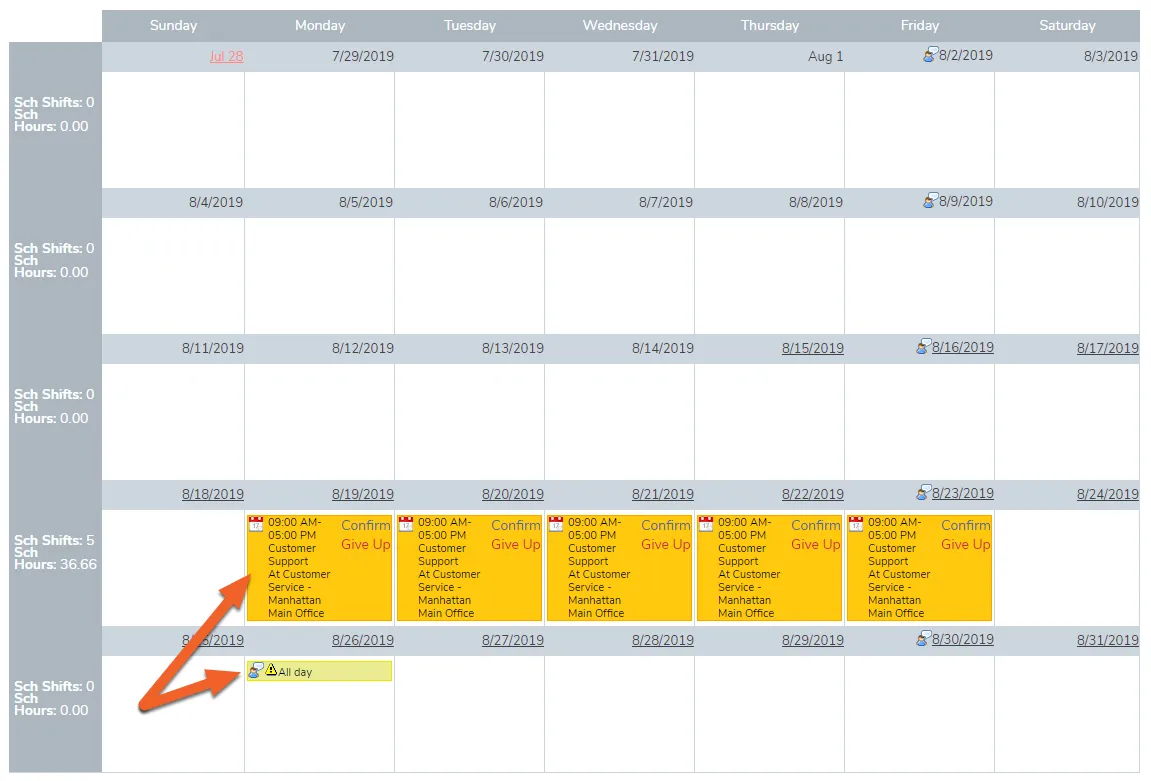
While Managers see an overview of staffing on the today page, Employees see a convenient calendar with their schedule, availability requests, and any important alerts.
In this example, we see the employee is scheduled to work Monday through Friday 9AM-5PM as Customer Support in the Customer Service department at the Manhattan Main Office location. The employee in this case has the option to confirm each shift or give it up – allowing other employees to pick up the shift in their stead. Additionally, the employee has a pending time off request for the following Monday.
Whether employees must confirm their shifts or whether they can give up/pick up shifts is constrained by the company’s settings.
Bottom of the Today Page (Requests and HR Activities)
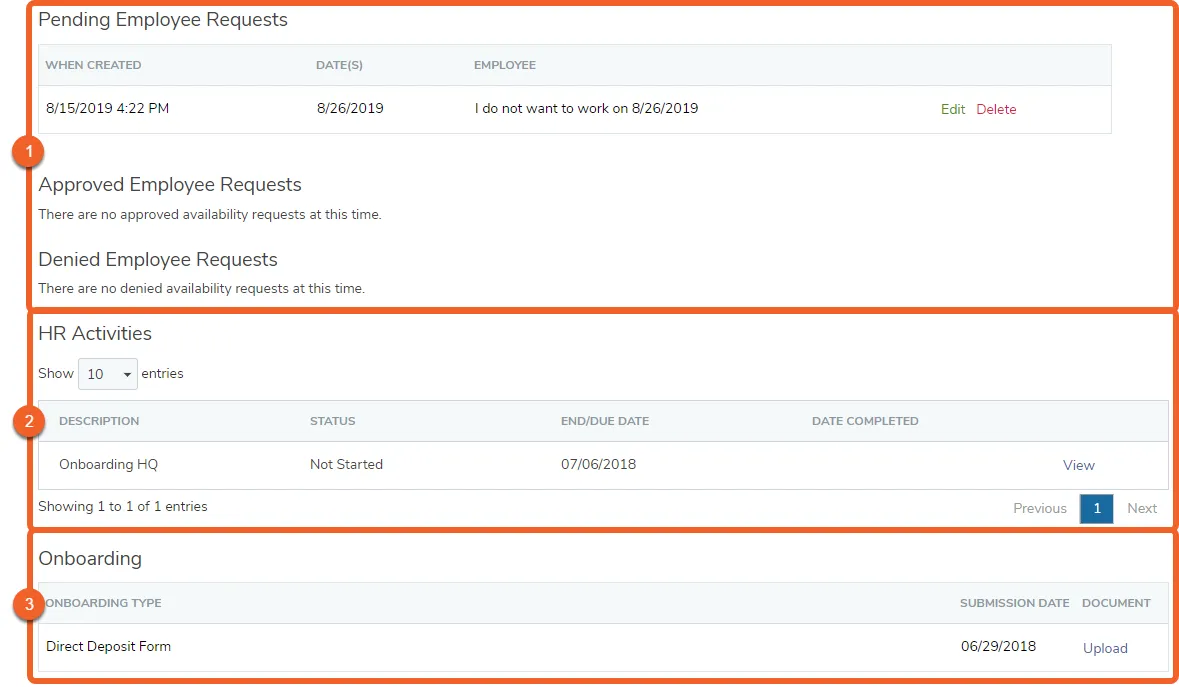
Below the calendar, you will see sections for Pending, Approved, and Denied availability and time off requests, and below that, any outstanding HR activities and onboarding documents.
Pending Employee Requests are schedule requests or changes to availability that have not yet been reviewed by your management team. These are displayed for your reference. Approved Employee Requests are schedule requests or changes to availability that have been allowed by your management team, while Denied Employee Requests are those that have been rejected by your management team.
HR Activities contains any tasks that need to be performed for HR, such as acknowledging receipt of documents, signing forms, or completing a certification course and submitting the paperwork. These may be listed with a status and due date.
Onboarding contains the Human Resources documents relevant to your job. These are displayed for your reference.
Clock in or out from the Today page
TimeForge Attendance is a powerful online time clock system that keeps track of when you clock in/out and when you take breaks. This makes it easier for management to review and approve your payroll hours. In addition to basic time punch information, TimeForge can also track your declared tips and mileage (e.g. if you’re a delivery driver). You can also enter notes about each shift, which can then be reviewed by your manager at a later date.
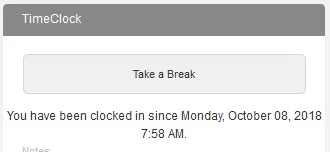
You can use the clock in/out feature on the Today page to start or end your shift or to take breaks. Clocking in/out can also be done from the Employee mobile app if your employer allows it.
Log into TimeForge or, if you’re already logged in, click the Today button to visit the Today page
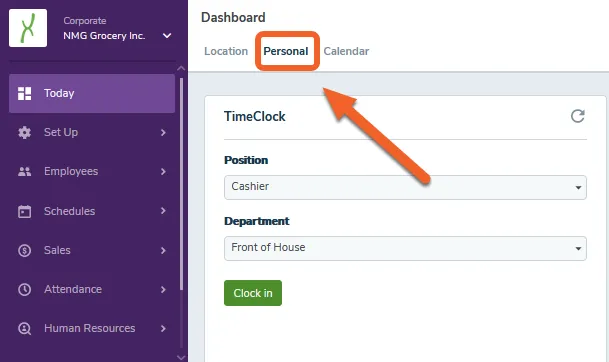
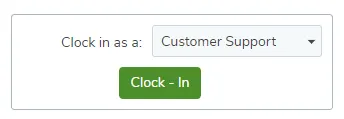
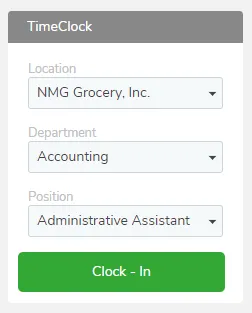
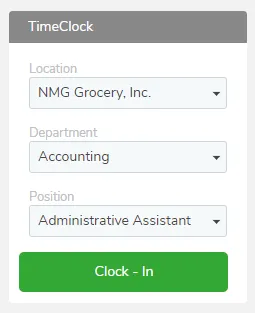
If you are on a computer which allows employees to clock in with TimeForge Attendance, you will see a Clock - In button. Click the button to clock yourself in for the selected Department and/or Position.
Depending on the clock in/out rules set up by your employer or manager, you may also notice that:
Clocking in or out may require manager approval if you are too early or too late.
Your clock in or out time may be rounded.
You may only be able to clock in or out from specific computers or networks.
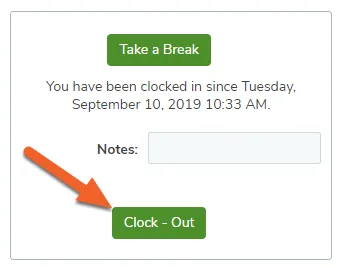
When you are ready to clock out of TimeForge Attendance, you should first enter any declared tips, mileage, or notes which are relevant to the shift, then click the Clock - Out button.
Take or end a break
TimeForge Attendance is a powerful time tracking tool for businesses and staff members alike. Employees can clock in and out using TimeForge, track scheduled and unscheduled breaks, lunch breaks, meal periods, and others. Taking breaks is easy with TimeForge!
When you log into TimeForge, click the Today tab in the left side navigation menu to visit your Today Page, also known as your employee dashboard. Here you can see important information about your schedule, time off or availability requests, messages, and more.
If you are on a computer which allows employee clock-ins with TimeForge Attendance, you will also see a button to clock in. Make sure you’re clocked in – otherwise you won’t be able to take a break through TimeForge.
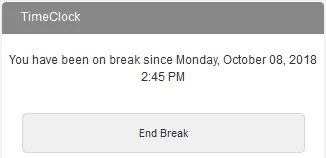
When you are ready to end your break, simply return to the Today Page and click the End Break button.
Fill out and submit onboarding documents
Employees can receive onboarding documents and notifications directly through TimeForge, without having to learn a separate system or shuffle piles of paper forms. This is part of TimeForge’s powerful Human Resources module.
If your HR department has sent you materials through TimeForge, you can use these steps to fill out and submit your documents. As always, make sure you follow any instructions provided by your HR department!
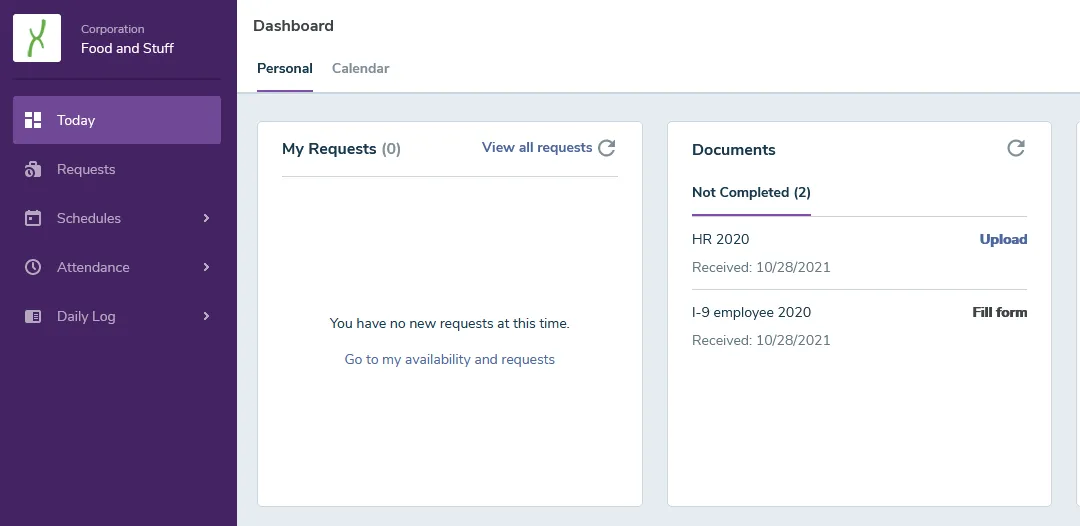
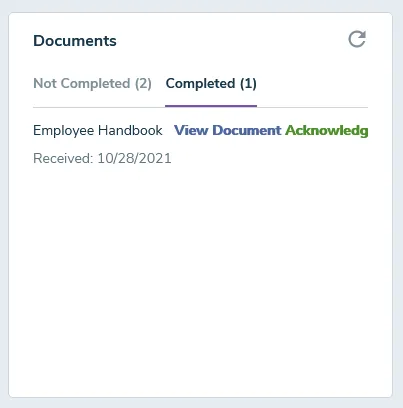
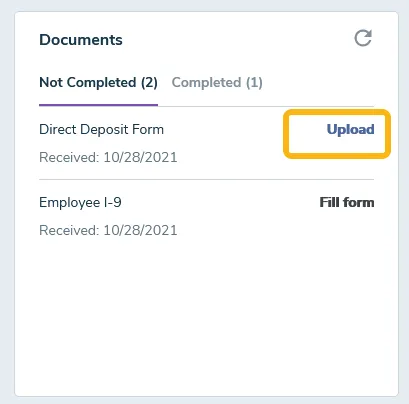
While logged in and on the Today Page, navigate to Documents module. Your page should look something like this:
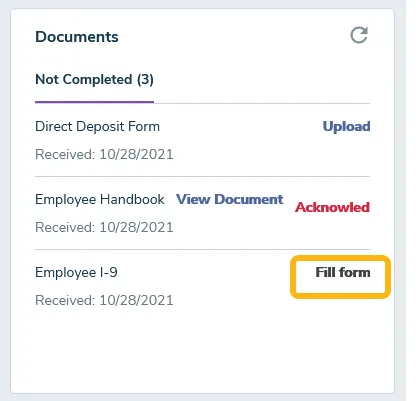
If the link says Fill Form...
The form is an online form. Simply click the link to open and complete the form online in your browser window.
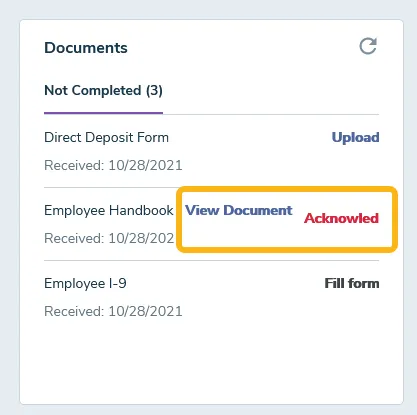
If the link says View Document/Acknowledge
The document is a PDF or another type of file. You’ll need to view and download the file to proceed. Don’t worry! We’ll explain how below.
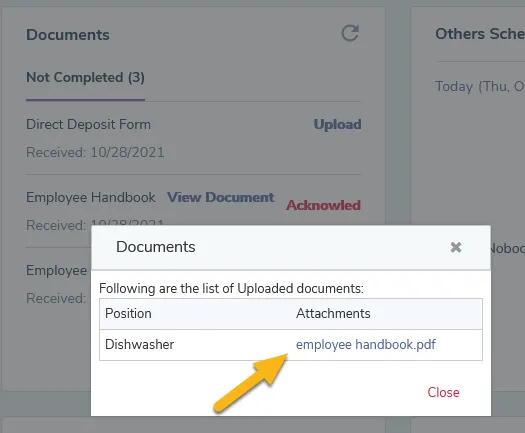
Click View Document to select the file uploaded by your employer. Click on the name of the file next to open the document.
Depending on your computer’s settings, this may open the document in a program like Adobe Reader, or the document may simply open up in a new browser window. If at all possible, open with Adobe.
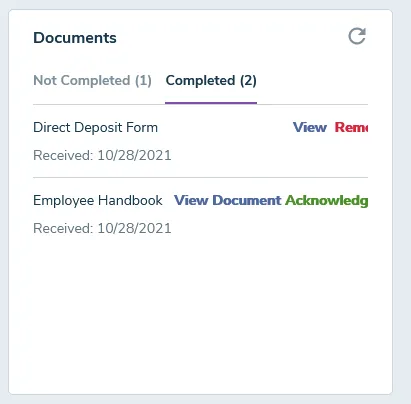
After you have read the document, make sure to click on the Acknowledge option. This will move your document to the Completed section.
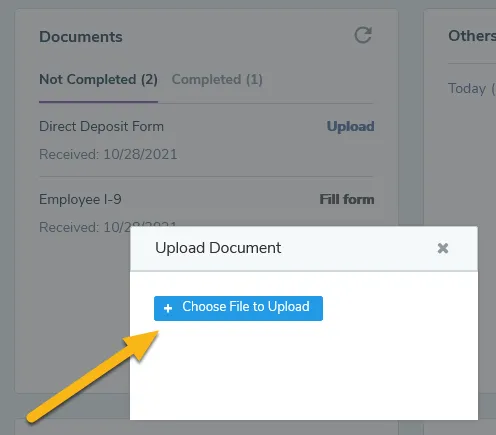
Click the Upload link to attach and upload your completed and signed form.
After you select the file you want to upload, the document will appear in the Completed section and available for HR to view.
Help! When I try to download or save the filled-out form, it only saves a blank version!
That’s because Adobe is proprietary software, and you likely don’t have access to a paid version. No sweat.
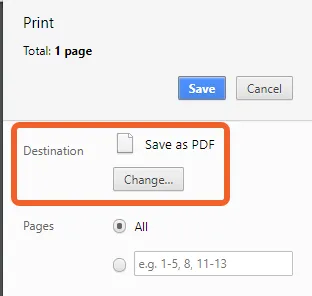
If you are filling out a PDF form, and you are unable to save, you may need to select the print option, then choose “Print to PDF” or “Save to PDF,” depending on your system. This will “print” a filled-out version of the form to your desktop as a PDF file.
Here’s an example of what it would look like if you were to select print and then “Save as PDF” in Google Chrome:
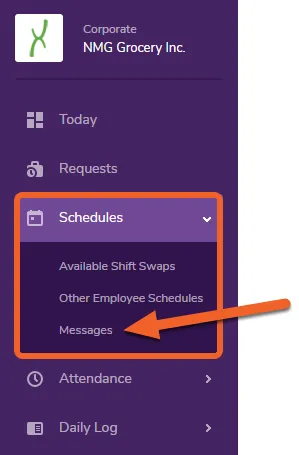
View and send messages through TimeForge
TimeForge’s messaging system provides a single location for convenient and simple work-related messages. Messages sent or received through TimeForge are accessible via the Messages page inside the application. If you have an email address configured in TimeForge, you will also receive messages by email.
To send and receive messages by email, make sure that you have an email address associated with your TimeForge profile. Your managers and coworkers will also need to set their email addresses in order to do the same.
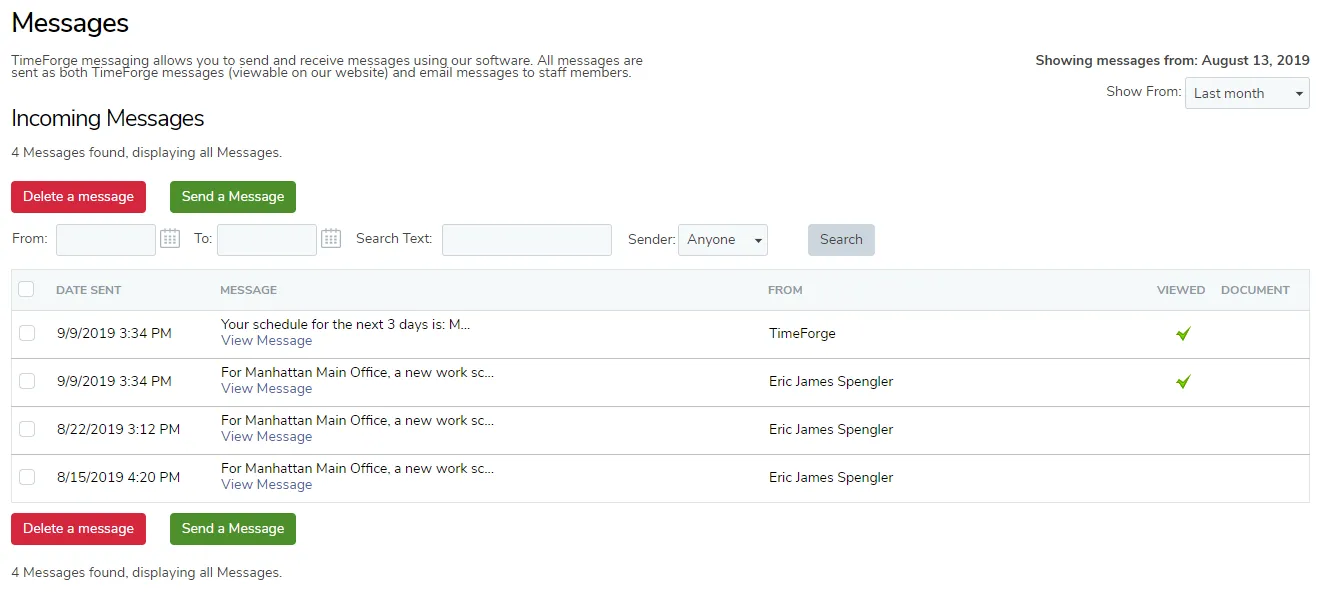
The Messages page displays all incoming / received messages from managers and other staff members, as well as messages that you have sent to other team members.
Incoming messages are displayed first, followed by Sent messages:
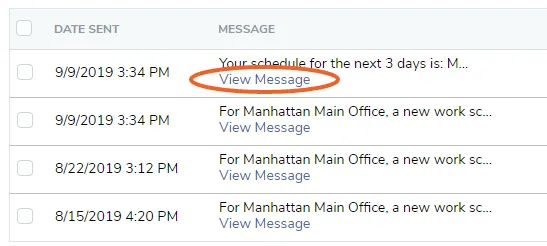
To read a message, simply click the View Message link.
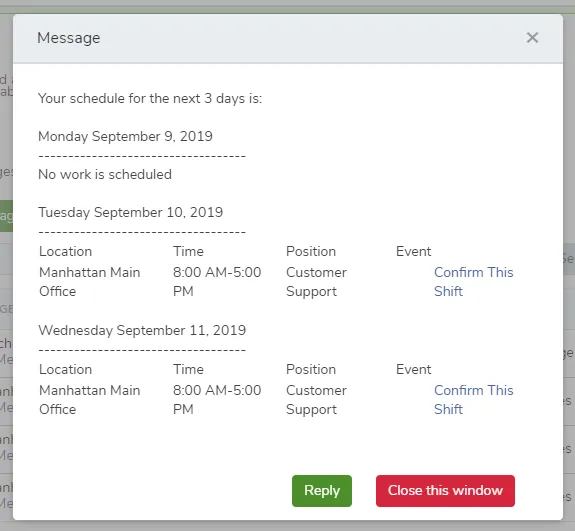
The message will display in a pop-up window and will allow you the option to Reply or to simply close the window. For some messages, such as automatic schedule notifications you’ve signed up for (see the Alerts tab in your profile), the message might also contain links to confirm your shifts.
Viewed messages receive a check mark next to them in the list:
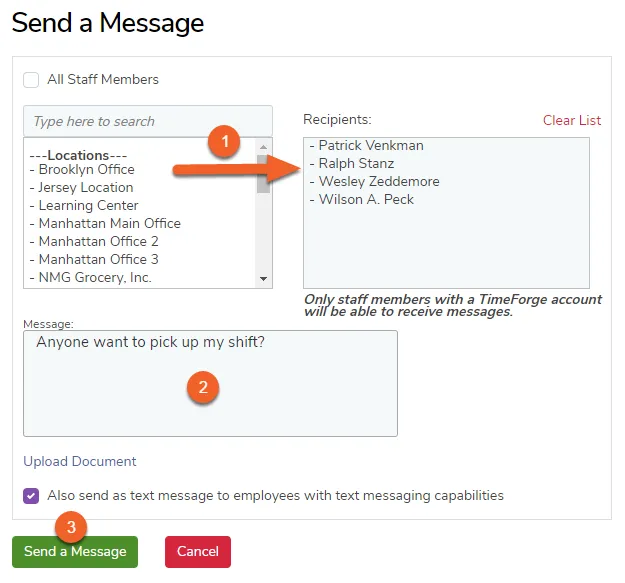
Start by choosing the staff members that should receive your message. Staff members are displayed in an easy to read / locate fashion, and you can send a message to multiple staff members by simply selecting all of the staff member names. Team members and managers that do not have a TimeForge account are shown with a line drawn through them, as these individuals cannot receive messages using TimeForge.
Next, enter an appropriate message in the text field. Selected individuals will receive notification of the message through their TimeForge account as well as through email.
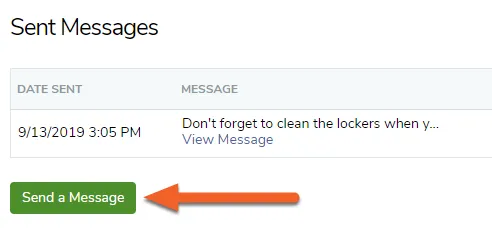
When you’re ready, click Send a Message to send the message – the message will now appear in your Sent Messages section.
You can review the status of your sent messages at any time. TimeForge records the message date and time, the body of the message, and the number of recipients (both within TimeForge and via email). You can also view the names of the people who have viewed your message inside of TimeForge by clicking the number in the Viewed Messages column.